Whether you're labeling inventory in a small business or organizing at home, the Phomemo M110 offers a compact, wireless solution designed to simplify your workflow. This portable, inkless thermal printer supports a wide range of label sizes and can print barcodes, logos, QR codes, and text—all from your mobile device.
This guide walks you through the entire M110 setup process, from unboxing to printing your first label, in under 5 minutes.
Step 1: Unboxing the Phomemo M110
Inside the box, you’ll find:
-
1× Phomemo M110 Thermal Label Printer
-
1× USB Charging Cable
-
1× Sample Roll of 40mm x 30mm Labels
-
1× User Manual
-
1× Warranty Card
Step 2: Charge the Device
Before first use, connect the M110 to a power source using the included USB cable.
-
Charging Time: ~2–3 hours
-
Indicator: A red light means charging; green means fully charged
The M110 features a 1200mAh lithium battery, offering up to 4–5 hours of continuous printing.
Step 3: Load Your Thermal Labels
Here’s how to load the label roll correctly:
-
Press the side button to open the top cover.
-
Insert the label roll with the adhesive side facing out.
-
Feed the label through the paper guide.
-
Close the lid securely.
Make sure the paper is aligned with the sensor to avoid misalignment during printing.
Step 4: Install the Print Master App
The Phomemo M110 works via Bluetooth, and pairing is handled through the Print Master App.
Download Print Master:
-
Android: Google Play Store
-
iOS: App Store
Once installed:
-
Enable Bluetooth on your phone.
-
Open the app and allow permissions.
-
Tap “Connect Device” → Select “M110” from the list.
The app will remember the device for future sessions.
Step 5: Print Your First Label
Now you're ready to print!
-
Open the Print Master app.
-
Choose or create a template (price tag, barcode, name label, etc.).
-
Customize text, icons, and layout.
-
Tap “Print” — and your label will be printed within seconds.
The M110 uses 203 dpi resolution, ensuring crisp, clear outputs suitable for retail, logistics, food packaging, and more.
Why Choose the M110? Key Technical Benefits
| Feature | Advantage |
|---|---|
| Ink-Free Printing | No cartridges, no mess—just thermal paper |
| Bluetooth Enabled | Wireless printing on-the-go |
| Compact Size | Fits in your pocket or desk drawer |
| Wide Label Compatibility | 20–50mm width support |
| Battery Powered | Print anytime, anywhere |
Troubleshooting Tips
-
Paper Jam: Check alignment and ensure sensor reads the label.
-
Faded Print: Replace the roll; expired thermal paper can affect quality.
-
App Won’t Connect: Restart Bluetooth or re-pair via app settings.
Final Thoughts: Print Smarter, Not Harder
The Phomemo M110 is built for speed, simplicity, and mobility. With no ink, no cables, and a user-friendly app, it’s the ideal solution for small businesses, retailers, and everyday organization.
Whether you're printing 5 or 500 labels, the M110 gets it done in minutes—starting from the moment you unbox it.
FAQs
Q1: Does the M110 support barcode and QR code printing?
Yes. You can generate and print both directly from the app.
Q2: What’s the lifespan of a thermal label?
With proper storage, thermal labels last 1–2 years depending on the environment.
Q3: Is the M110 compatible with Windows or Mac?
Primarily mobile-focused, but you can connect via USB for Windows with driver support.
Recommended Internal Links:
- Shop M110 Printer
- How to Solve Common Shipping Label Problems: A Simple Guide for Small Businesses
- 5 Fun DIY Ideas with Phomemo Mini Thermal Sticker Printer

 Phomemo PM241-BT Bluetooth Shipping Label Printer
 Phomemo M832 Upgrade Thermal Portable Printer
 Phomemo T02 Inkless Mini Printer
 Phomemo M220 Bluetooth Portable Thermal Business Label Maker
 Phomemo D30 Portable Bluetooth Home Label Maker
 Phomemo Thermal Portable Printer M832D Upgraded Direct Touchscreen
 Phomemo Instant Camera K22 Dual-Lens Camera for Kids
 For K22
 Phomemo Thermal Label Maker M421 Bluetooth Portable Business
 Phomemo M250 Bluetooth Portable Thermal Business Label Maker
 Phomemo D30 Gray Bluetooth Label Maker & 5 rolls of labels (Option: Storage Bag)
 Phomemo M02 PRO Mini Printer Gift Set
 Phomemo T02 Inkless Mini Printer Gift Set
 Phomemo M220 Bluetooth Label Printer Gift Set
 Phomemo M02 Mini Printer Gift Set
 Accessories
 Storage Bag
 Storage Box
 Phomemo Large Hard Shell Machine Storage Bag
 Phomemo Paper Holder for T02/M02/M02S/M02PRO/M03AS/M04AS/M04S
 Phomemo M02 Inkless Mini Printer
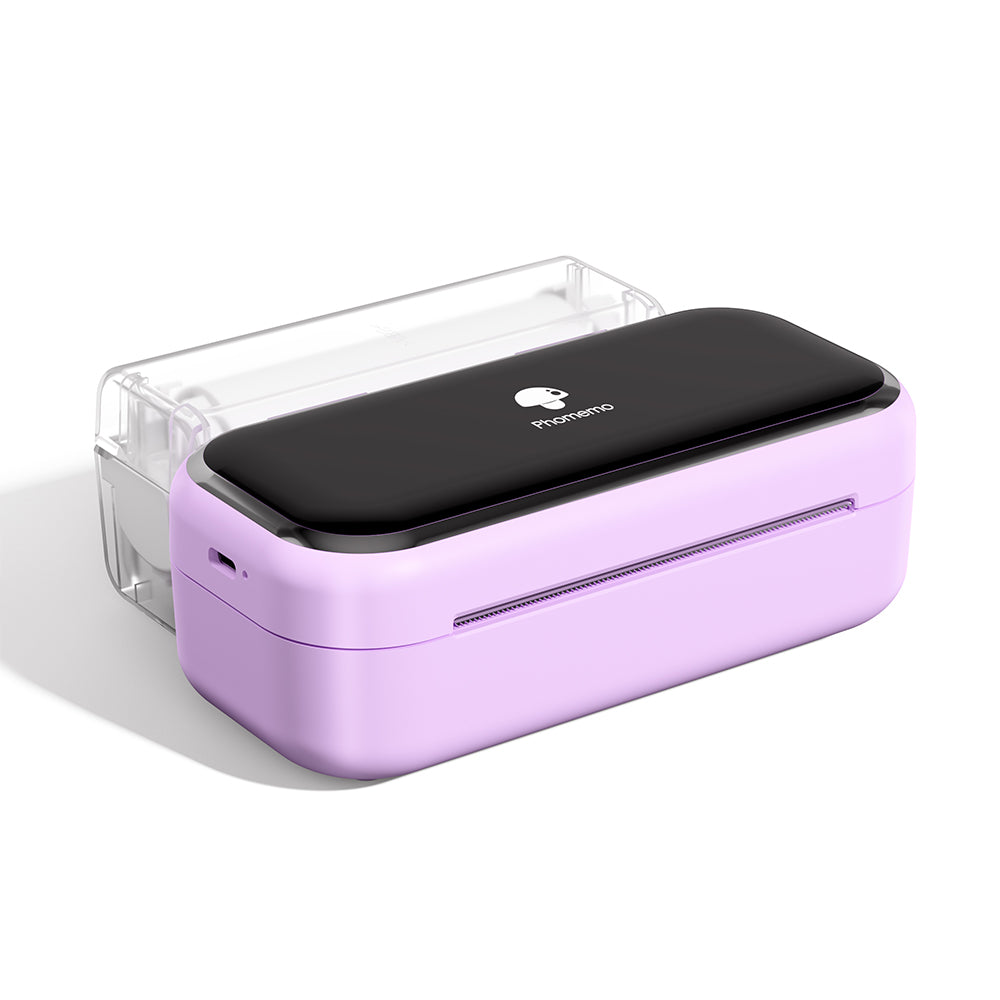 Phomemo M03 Bluetooth Mini Printer
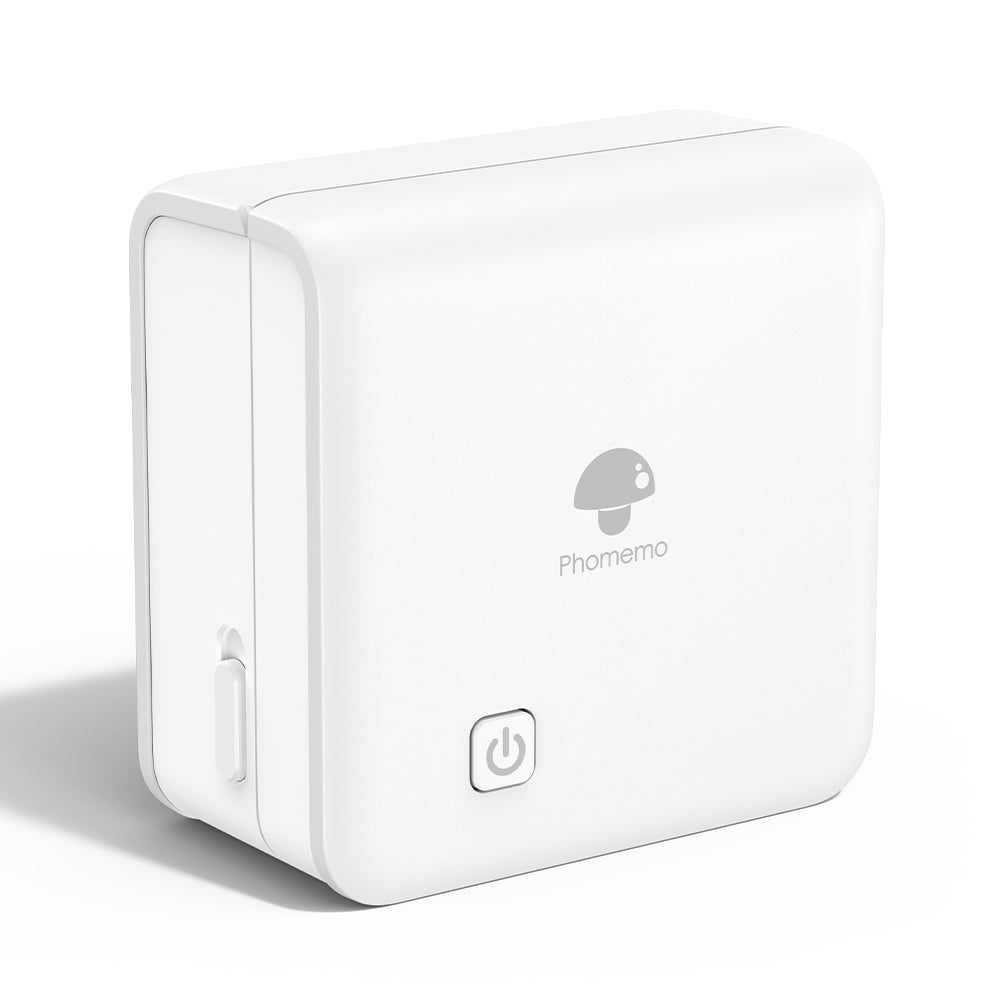 Phomemo M02 PRO Bluetooth Mini Printer
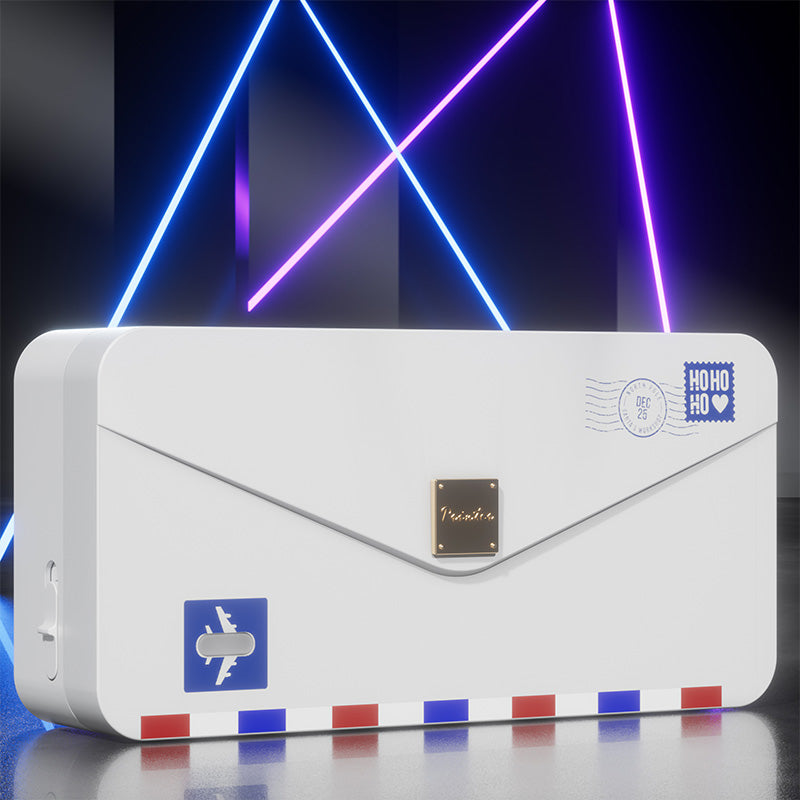 Phomemo M04AS Mini Thermal Printer
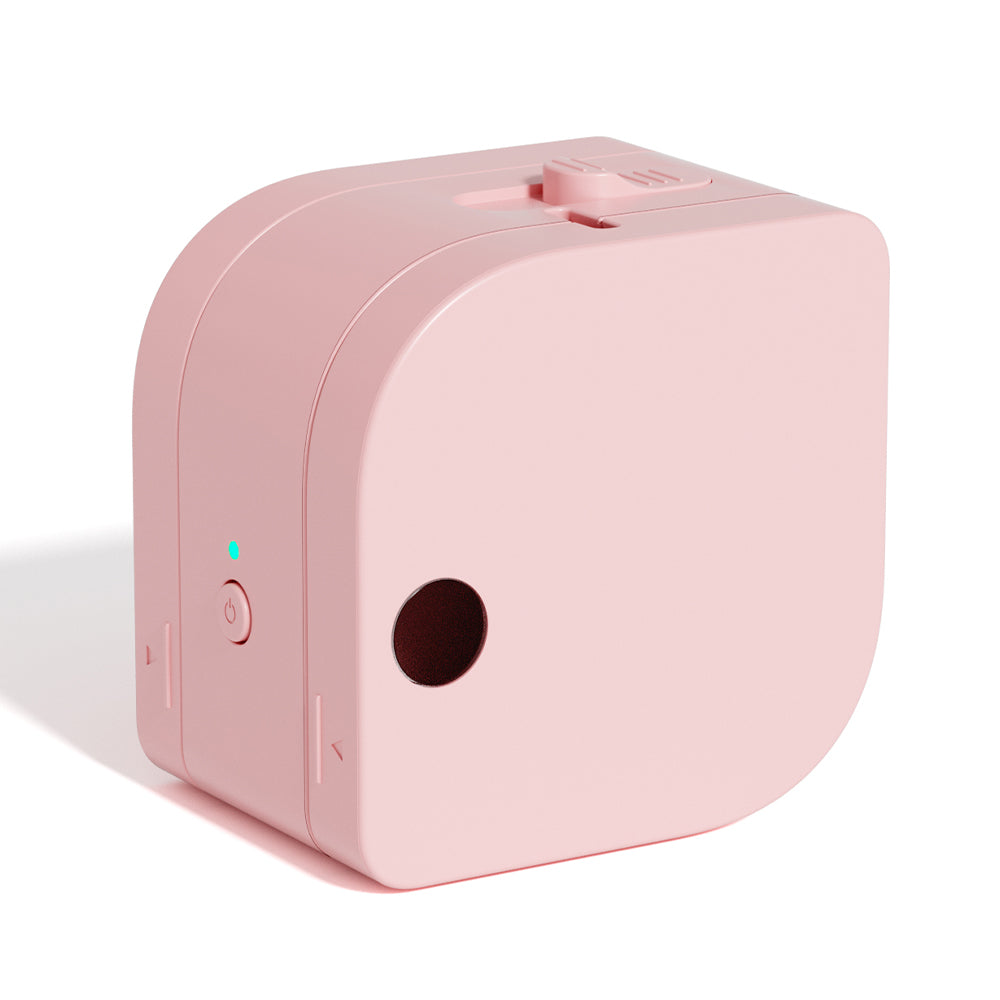 Phomemo P12 Portable Bluetooth Home Label Maker
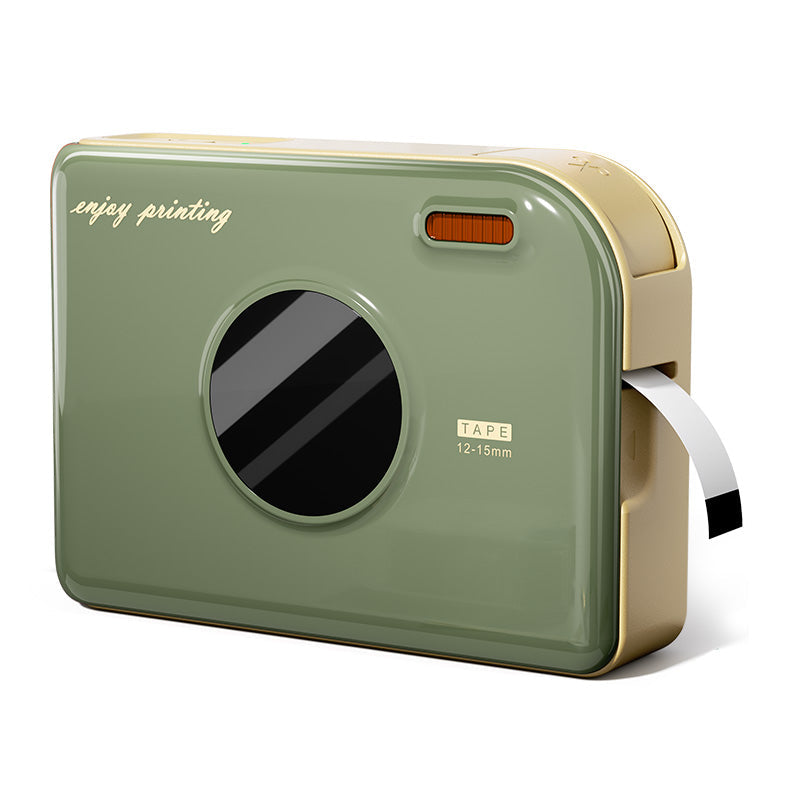 Phomemo A30 Portable Home Label Maker
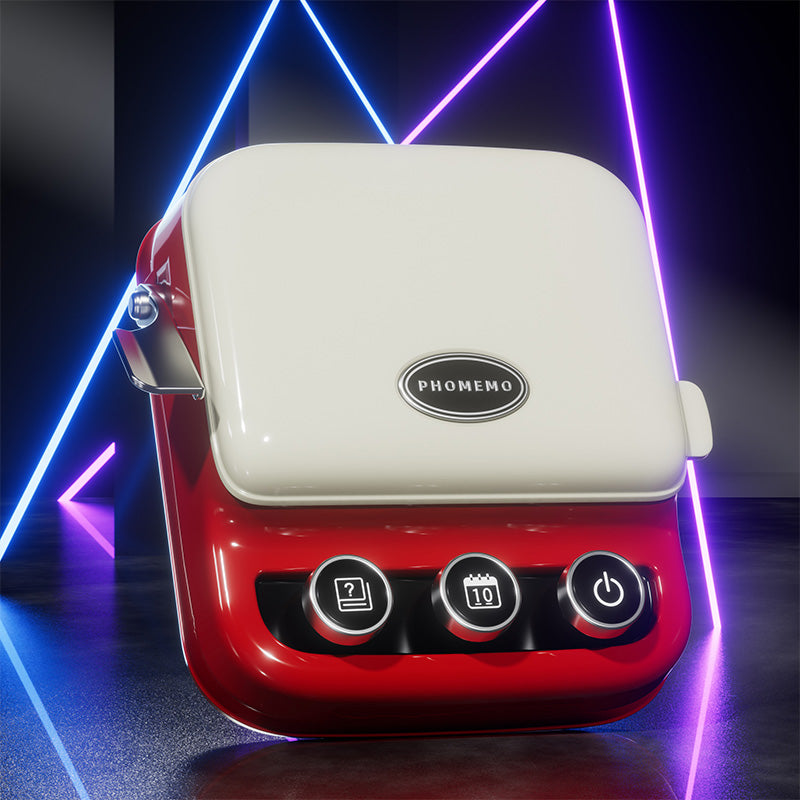 Phomemo P15 Vintage Home Label Maker
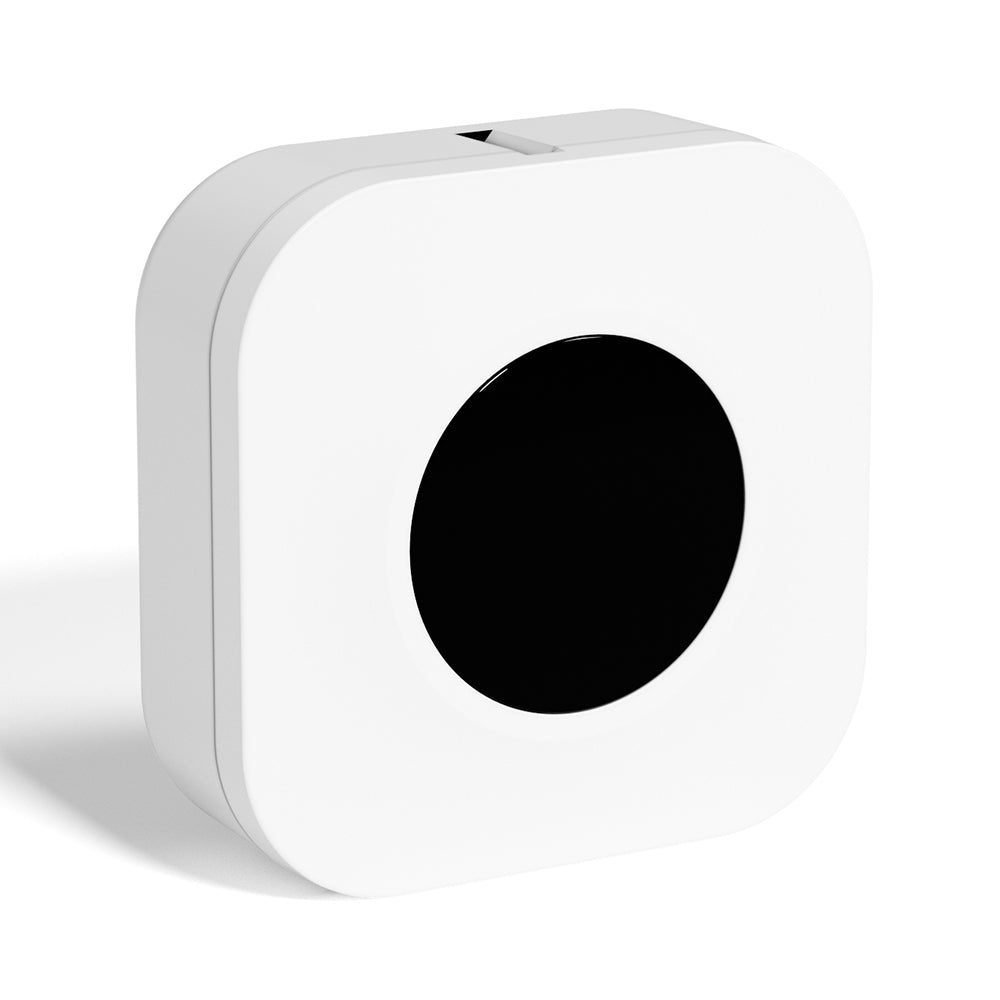 Phomemo Q30S Mini Home Label Maker
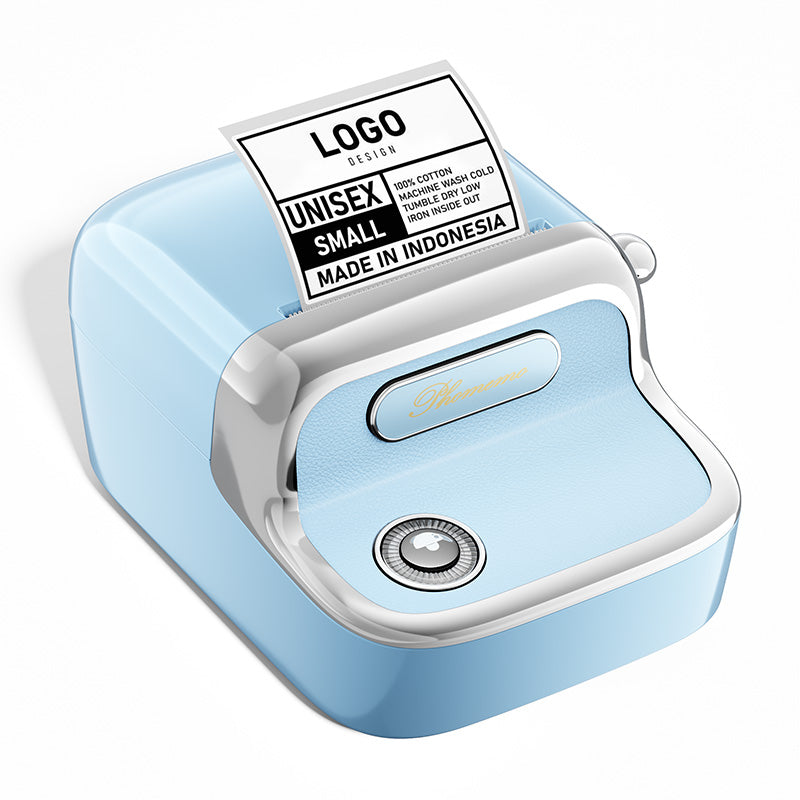
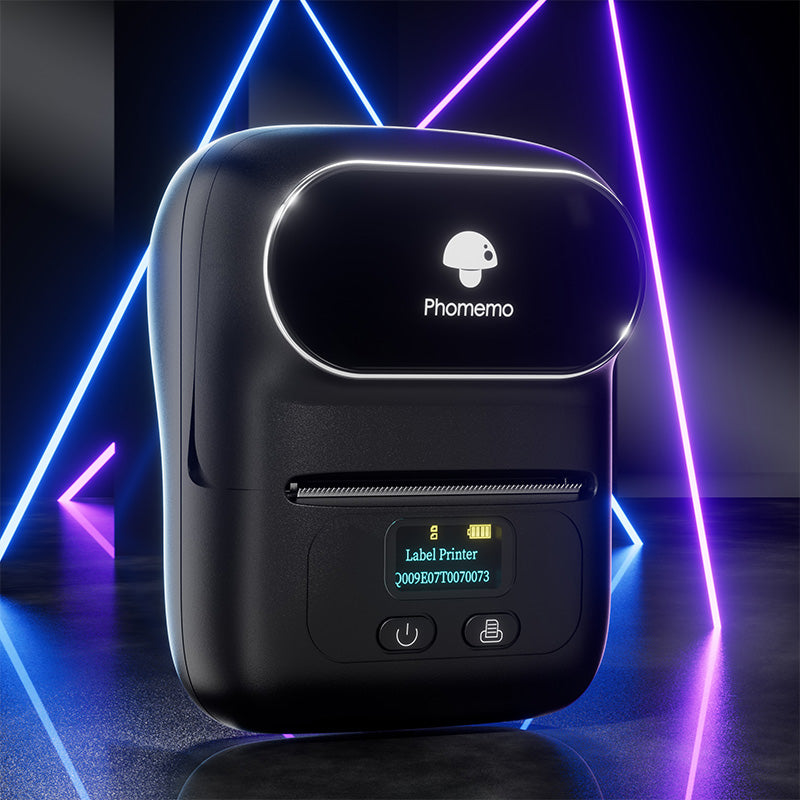 Phomemo M110 Bluetooth Portable Thermal Business Label Maker
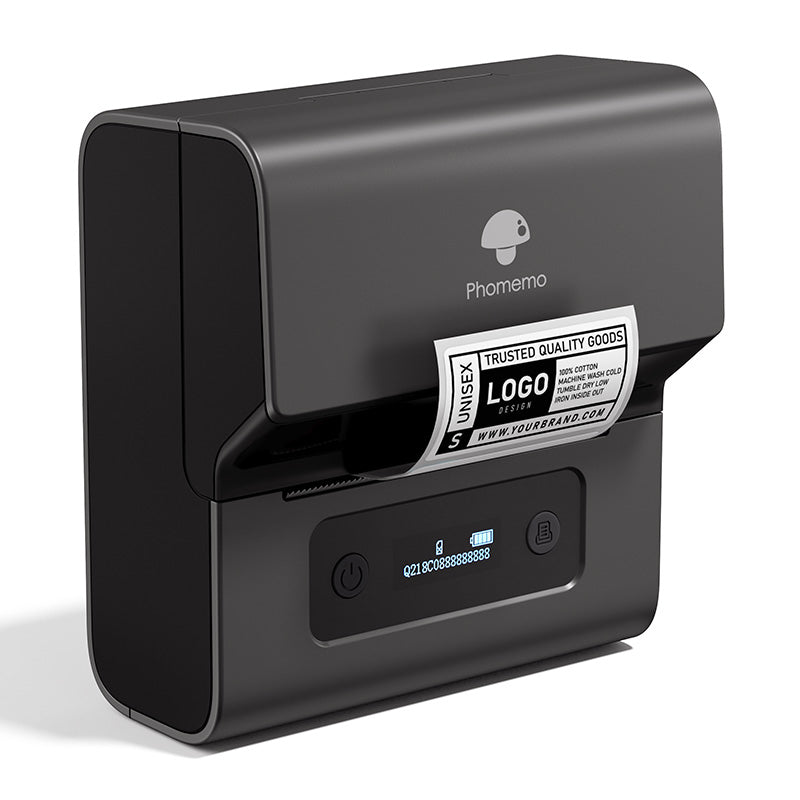
 Phomemo M150 Bluetooth Portable Thermal Business Label Maker
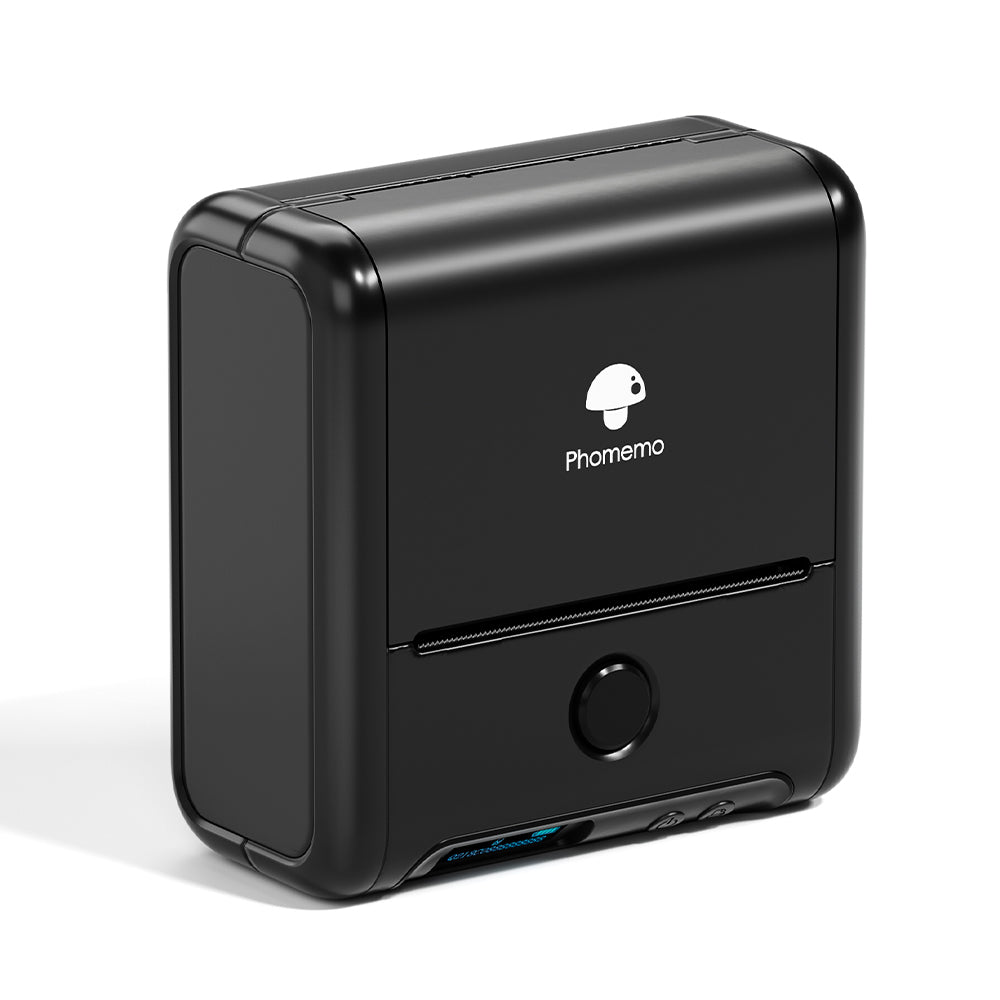
 Phomemo M221 Bluetooth Portable Thermal Business Label Maker
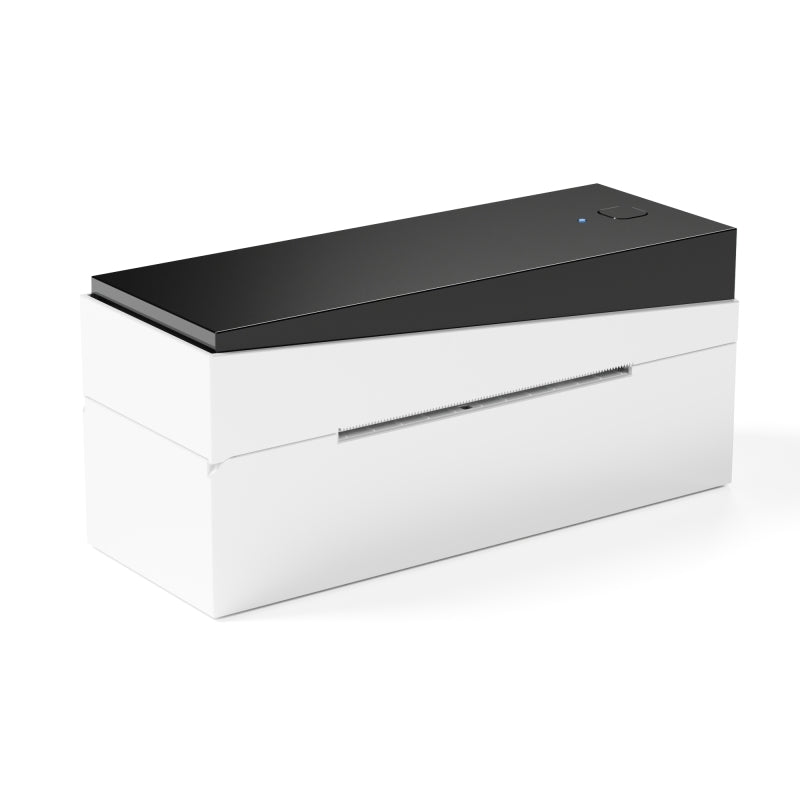
 Phomemo M200 Bluetooth Portable Thermal Business Label Maker
 Phomemo PM249-BTZ Bluetooth Direct Connect Shipping Label Printer
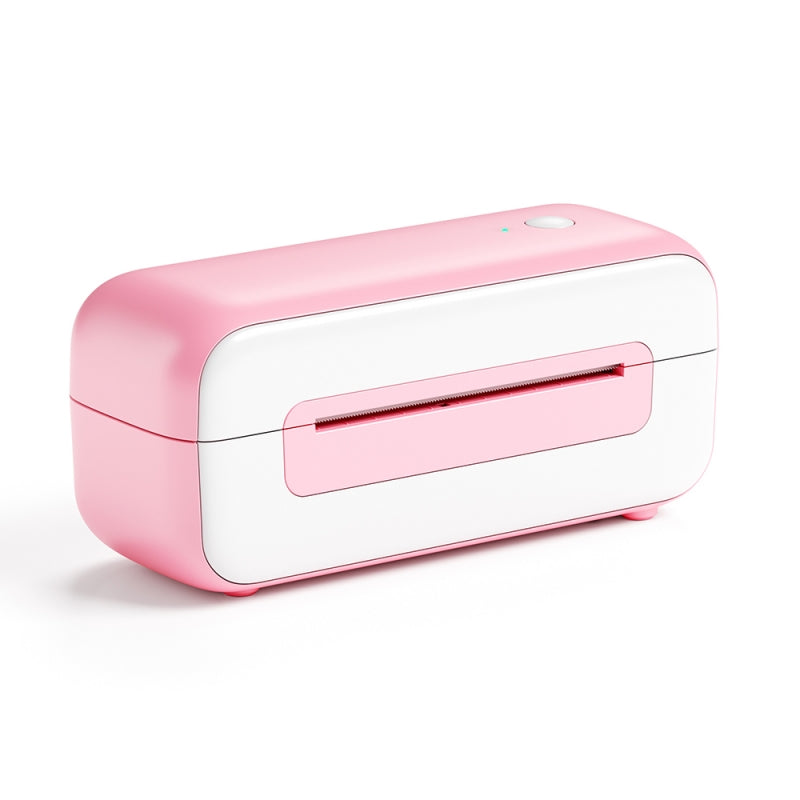 Phomemo PM-246S High-Speed USB Direct Thermal Shipping Label Printer
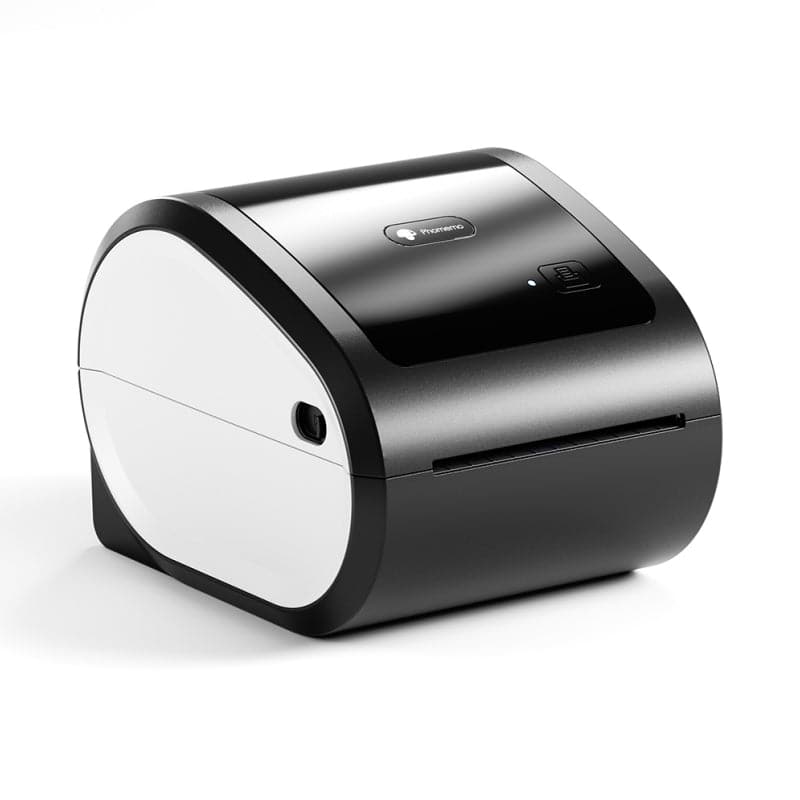 Phomemo D520-BT Bluetooth Shipping Label Printer
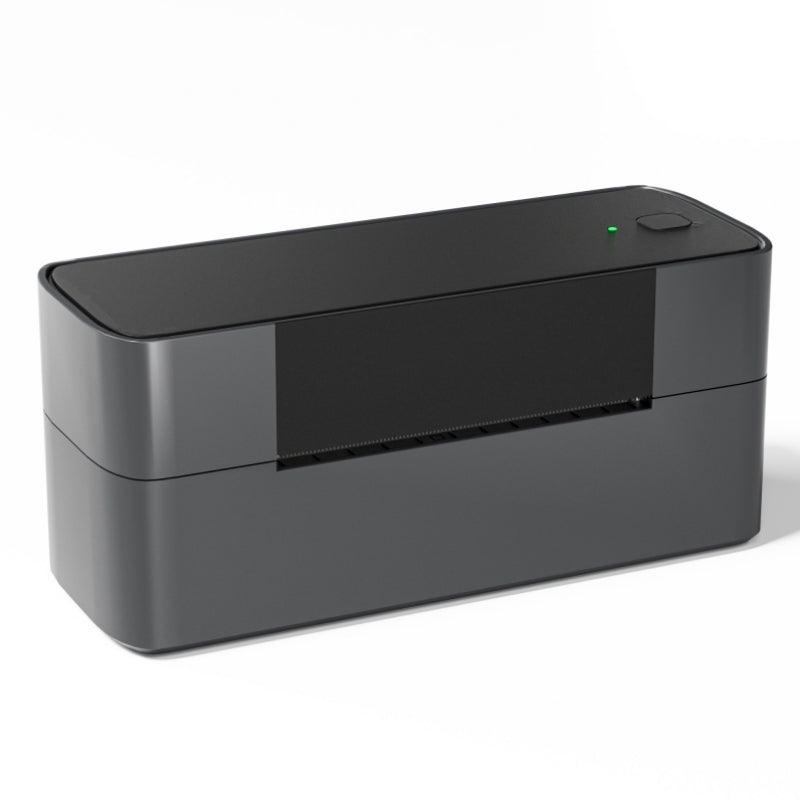 Phomemo PM245-BTZ Bluetooth Direct Connect Shipping Label Printer
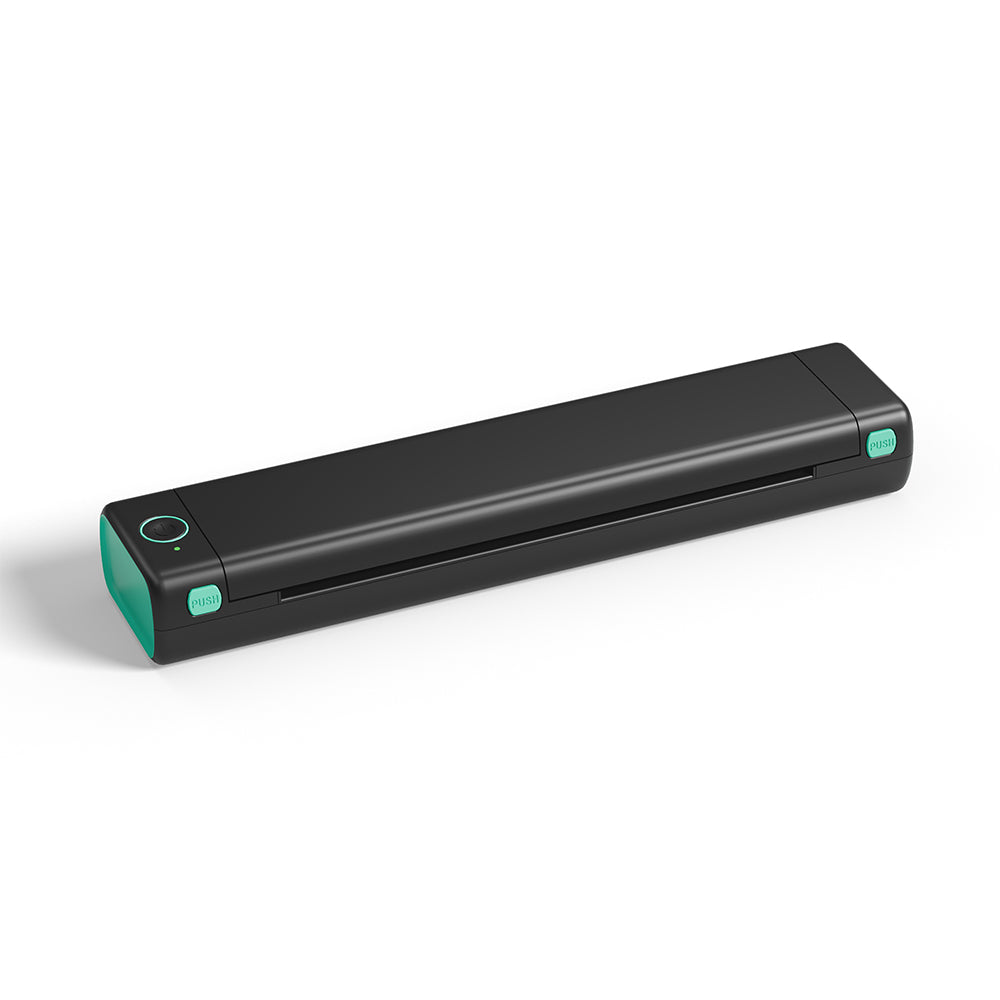 Phomemo M08F Letter & A4 Portable Printer
 Phomemo P831 Bluetooth Portable Thermal Transfer Printer
 [Ultra-light] Phomemo Q302 Wireless Portable Thermal Printer
 Phomemo M08F Wireless Tattoo Stencil Printer
 Phomemo TP81 Wireless Tattoo Template Printer
 Phomemo TP83 Wireless Tattoo Stencil Printer
 [❗️NEW❗️]Phomemo TP31 Bluetooth Tattoo Stencil Mini Printer
 For T02/M02X
 For M02
 For M02S
 For M02 Pro
 For M03
 For M03AS
 For M04S
 For M04AS
 For D30/D35/Q30/Q30S
 For P12/P12 PRO
 For D50
 For P3200
 For M960/M950
 For P15
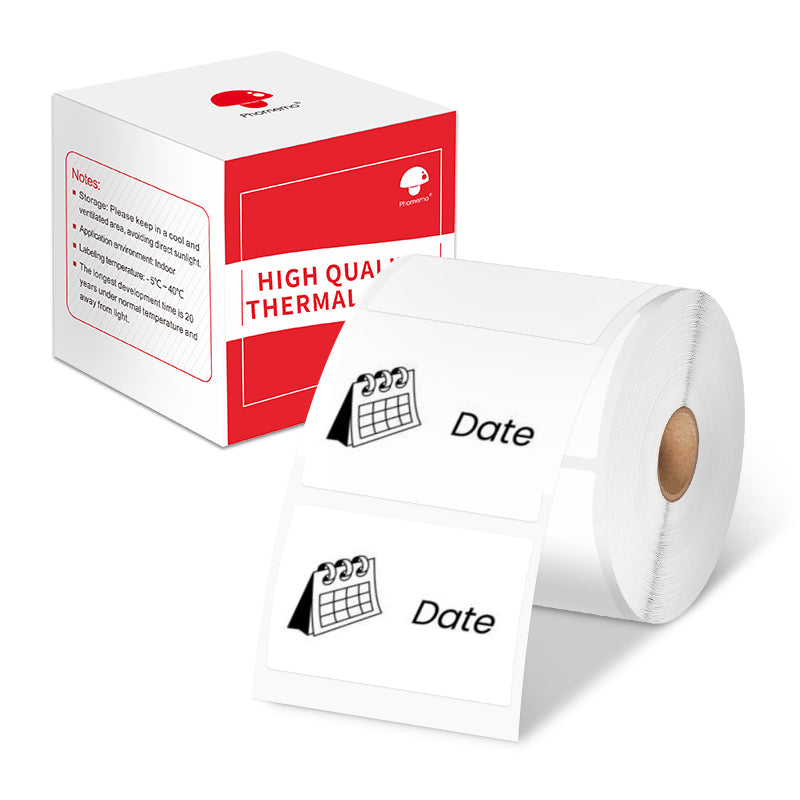 For M110/M120
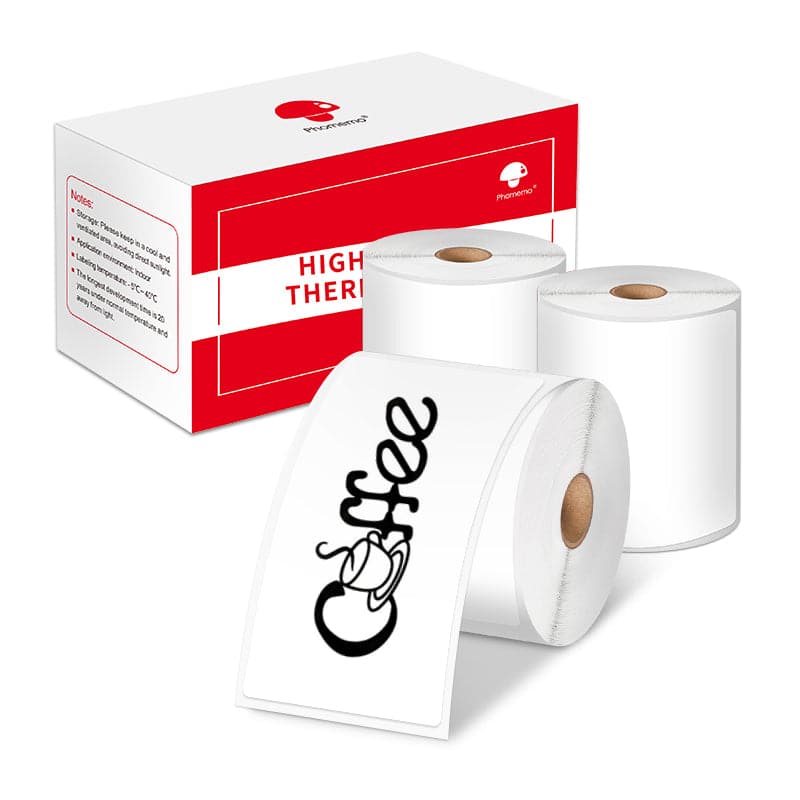 For M200/M220/M221
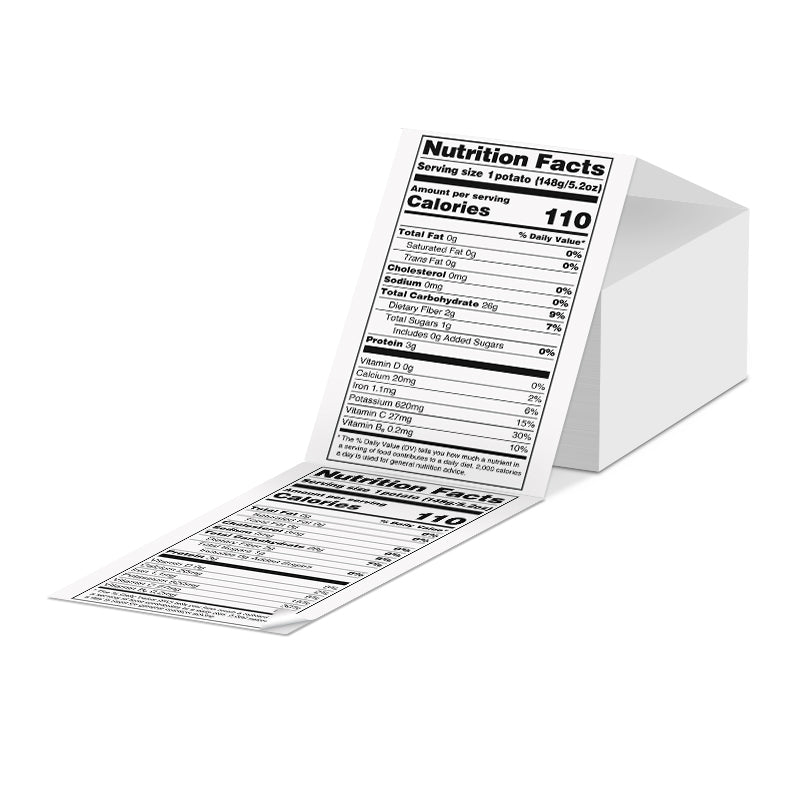 Phomemo 4"x6" Fan-Fold Thermal Direct Labels for Shipping Label Printer
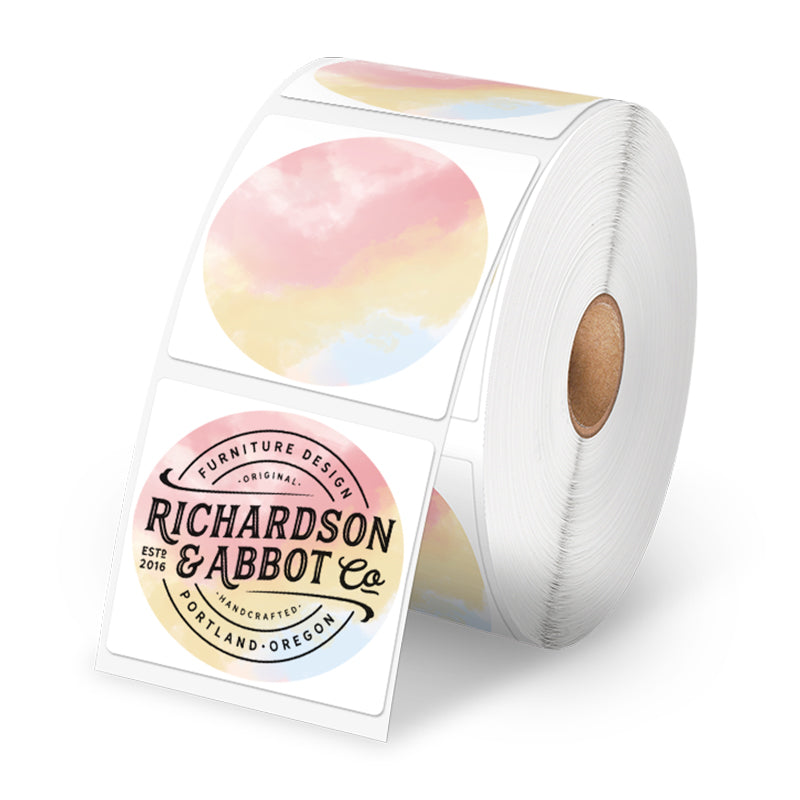 Phomemo Thermal Shipping Labels – Multiple Sizes & Types for Shipping Label Printer
 Phomemo 2" Multiple Thermal Round Label for Shipping Label Printer
 Phomemo 2" Silver Thermal Holographic Sticker for Shipping Label Printer
 Phomemo 3"x2"Shipping Label Stickers for Shipping Label Printer
 For M08F/Q302
 For M832
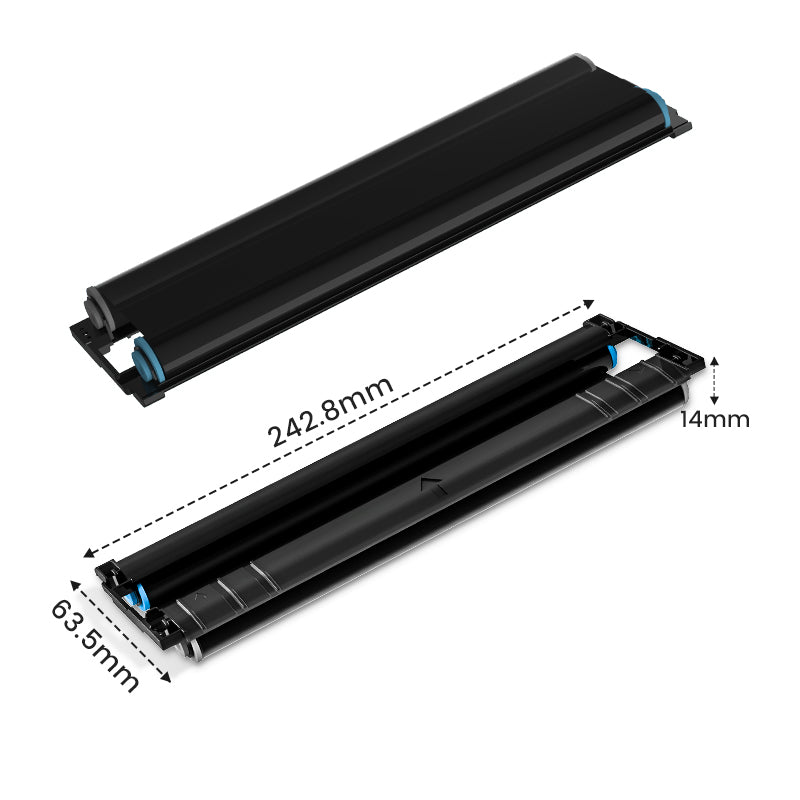 For P831
 For TP81/TP83/M08F Tattoo
 For TP31 Tattoo
 For P02


