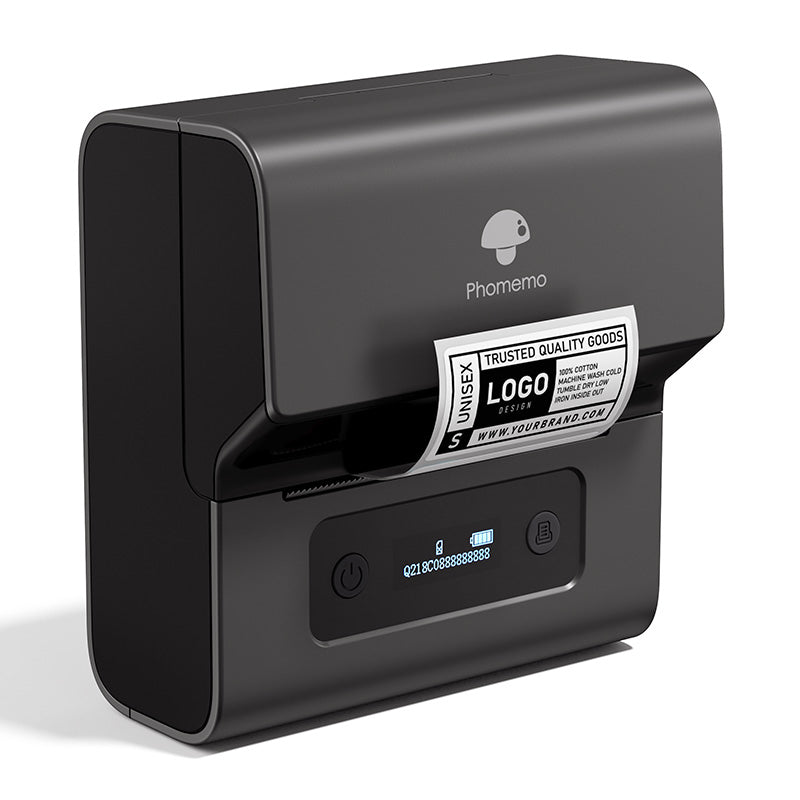
 Phomemo T02 Inkless Mini Printer
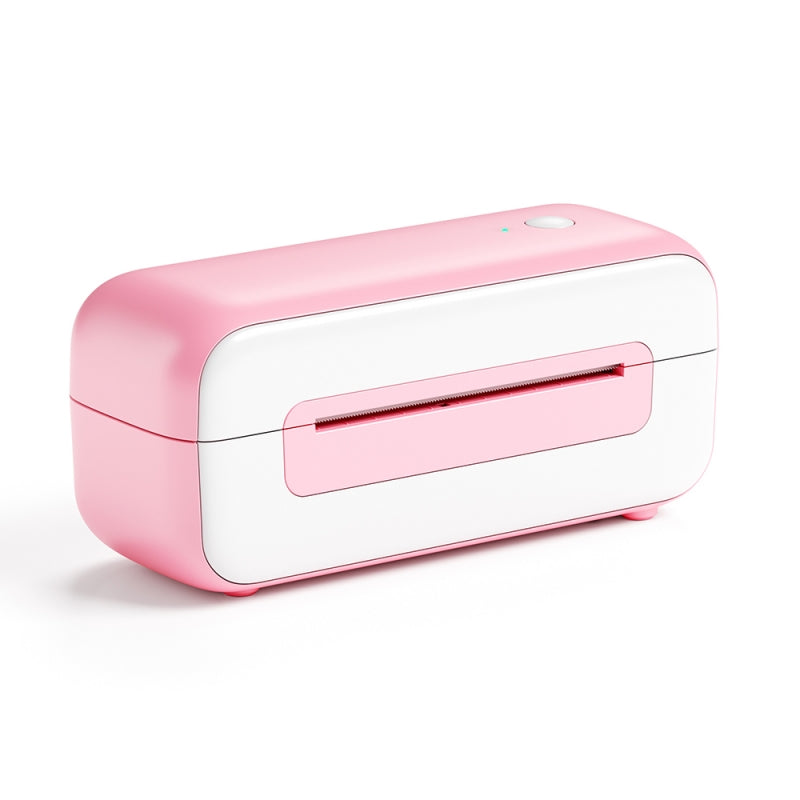
 Phomemo M02 Inkless Mini Printer
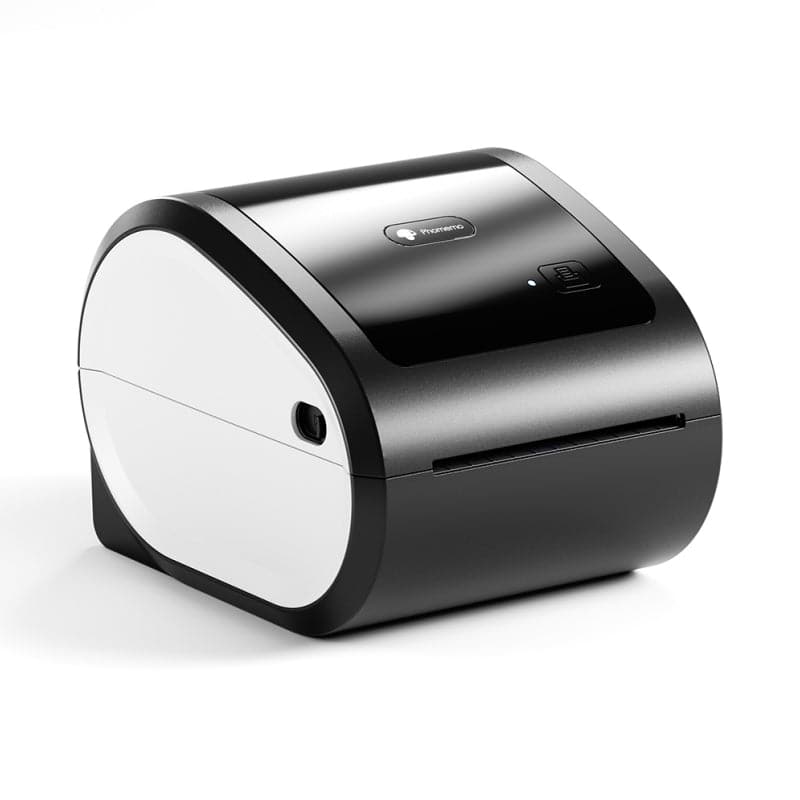
 Phomemo M03 Bluetooth Mini Printer
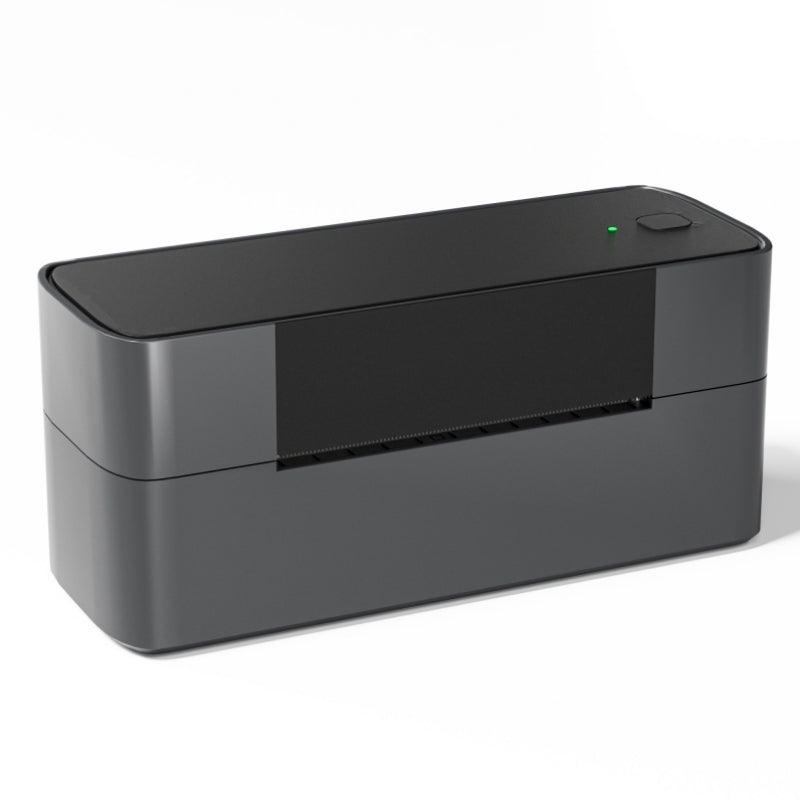
 Phomemo M02 PRO Bluetooth Mini Printer
 Phomemo M04AS Mini Thermal Printer
 Phomemo M02S Bluetooth Mini Printer
 Phomemo M04S Mini Thermal Printer
 Phomemo M03AS Inkless Mini Printer
 Phomemo M02X Bluetooth Mini Printer
 Phomemo D30 Portable Bluetooth Home Label Maker
 Phomemo P12 Portable Bluetooth Home Label Maker
 Phomemo P15 Vintage Home Label Maker
 Phomemo Q30S Mini Home Label Maker
 Phomemo D50 Large Home Label Maker
 Phomemo P12 Pro Bluetooth Home Label Maker
 [Only Canada] Phomemo D35 Portable Bluetooth Home Label Maker
 Phomemo M960 Mini Home Label Maker
 Phomemo E975 Embossing Home Label Maker with 6 Tapes
 Phomemo P3200 Portable Bluetooth Home Label Maker
 Phomemo M110 Bluetooth Portable Thermal Business Label Maker
 Phomemo M120 Bluetooth Portable Thermal Business Label Maker
 Phomemo M200 Bluetooth Portable Thermal Business Label Maker
 Phomemo M220 Bluetooth Portable Thermal Business Label Maker
 Phomemo M221 Bluetooth Portable Thermal Business Label Maker
 Phomemo M150 Bluetooth Portable Thermal Business Label Maker
 Phomemo PM241-BT Bluetooth Shipping Label Printer
 Phomemo PM249-BTZ Bluetooth Direct Connect Shipping Label Printer
 Phomemo PM-246S High-Speed USB Direct Thermal Shipping Label Printer
 Phomemo D520-BT Bluetooth Shipping Label Printer
 Phomemo PM245-BTZ Bluetooth Direct Connect Shipping Label Printer
 [WIFI] Phomemo PM344-WF 300DPI Shipping Label Printer
![[NEW Arrival] Phomemo PM247-WF Wireless High-Speed Shipping Label Printer]( //eu.phomemo.com/cdn/shop/files/Phomemo-PM-247-WFhigh-speed-ShippingLabel-Printer.jpg?v=1726906765 ) [NEW Arrival] Phomemo PM247-WF Wireless High-Speed Shipping Label Printer
[NEW Arrival] Phomemo PM247-WF Wireless High-Speed Shipping Label Printer
 Phomemo M832 Upgrade Thermal Portable Printer
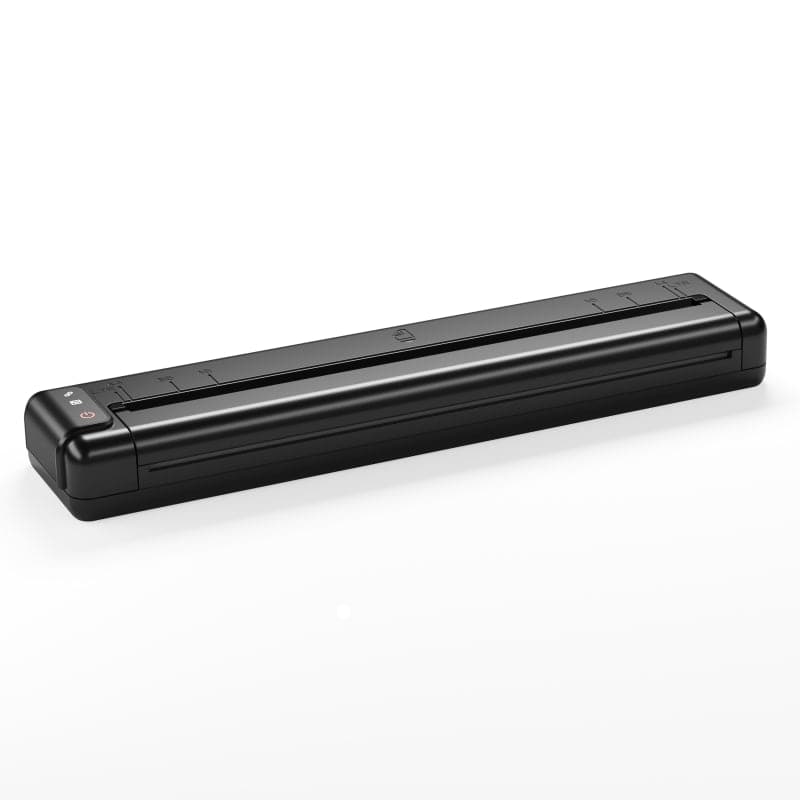
 Phomemo M08F Letter & A4 Portable Printer
 Phomemo P831 Bluetooth Portable Thermal Transfer Printer
 [Ultra-light] Phomemo Q302 Wireless Portable Thermal Printer
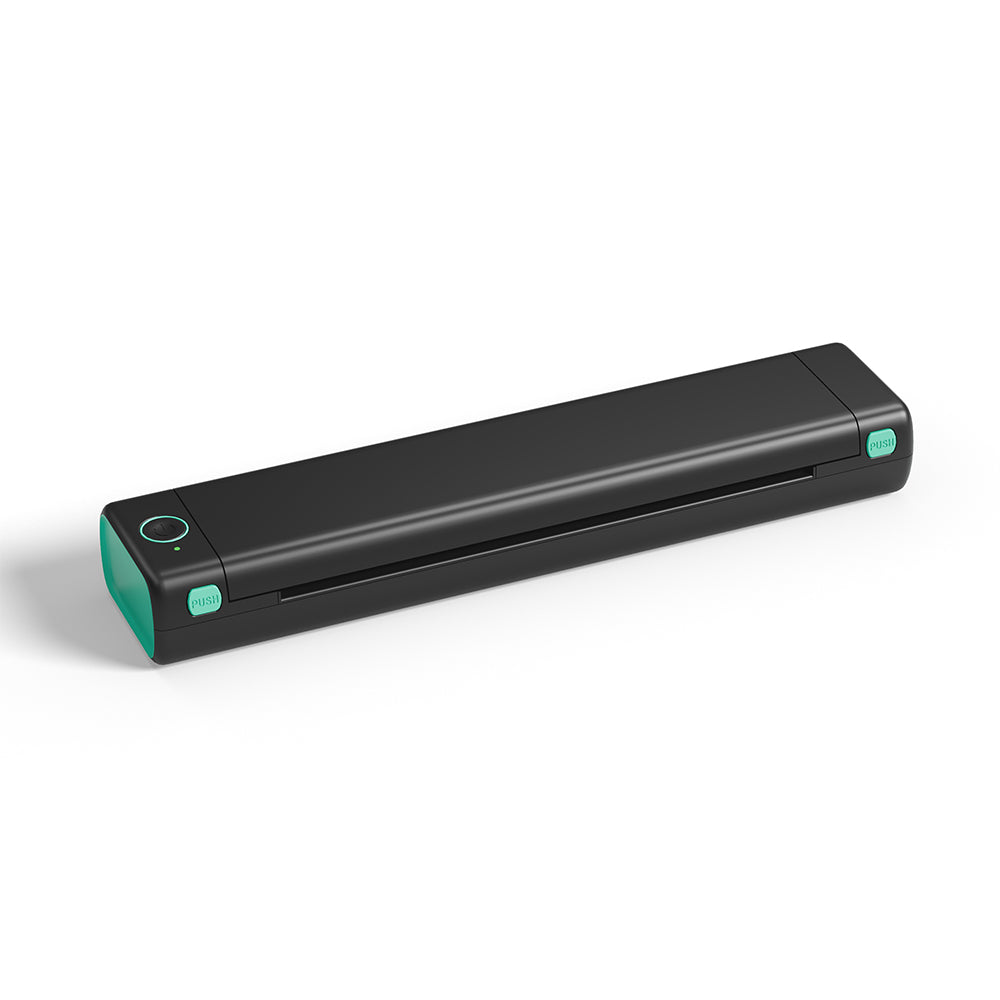
 Phomemo M08F Wireless Tattoo Stencil Printer
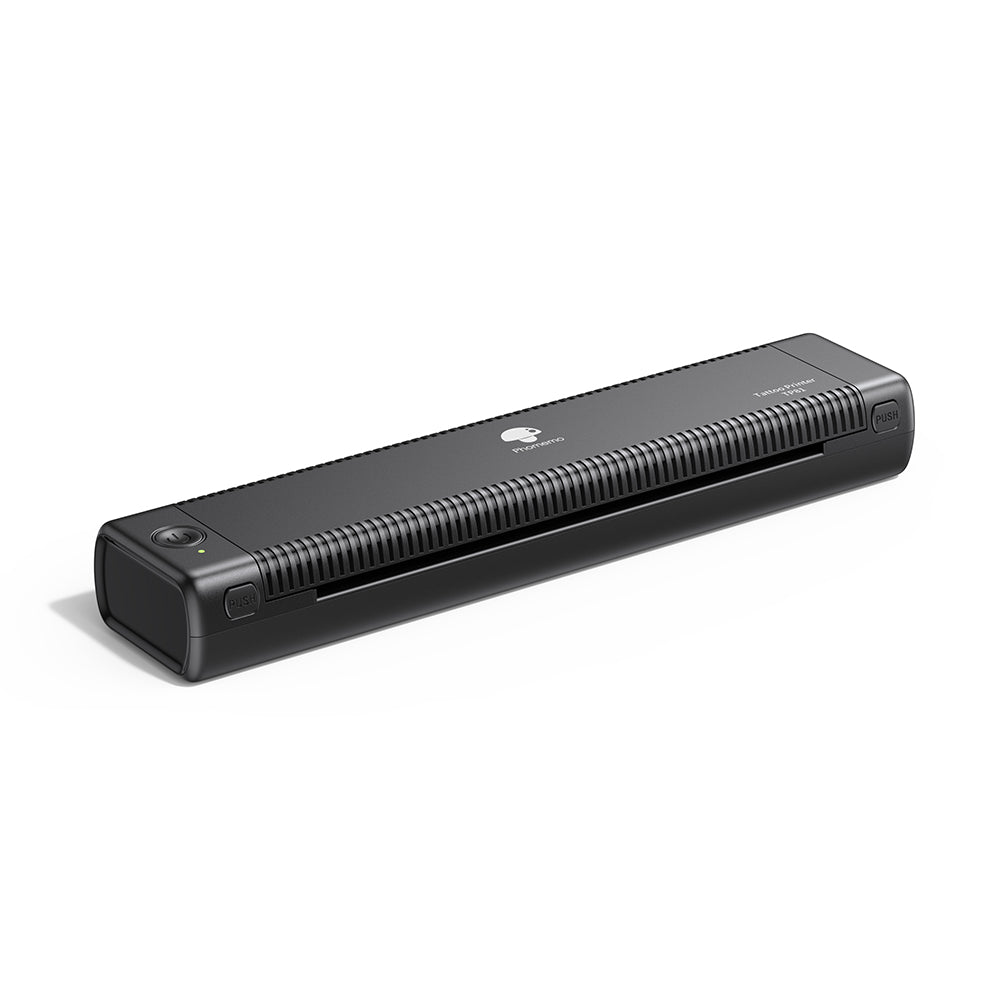 Phomemo TP81 Wireless Tattoo Template Printer
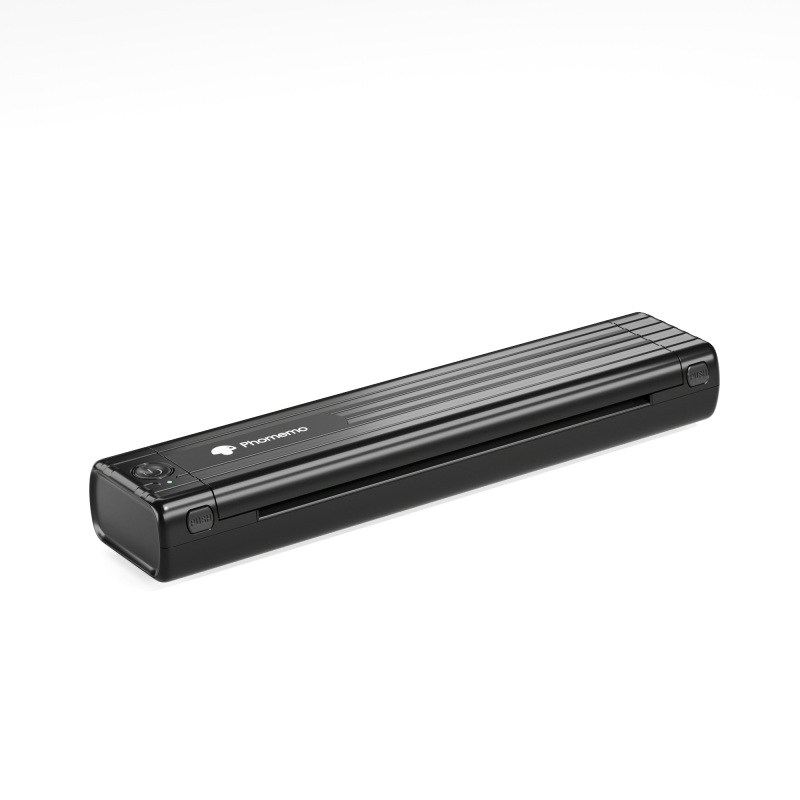 Phomemo TP83 Wireless Tattoo Stencil Printer
 For T02/M02X
 For M02
 For M02S
 For M02 Pro
 For M03
 For M03AS
 For M04S
 For M04AS
 For D30/D35/Q30/Q30S
 For P12/P12 PRO
 For D50
 For P3200
 For M960/M950
 For P15
 For M110/M120
 For M200/M220/M221
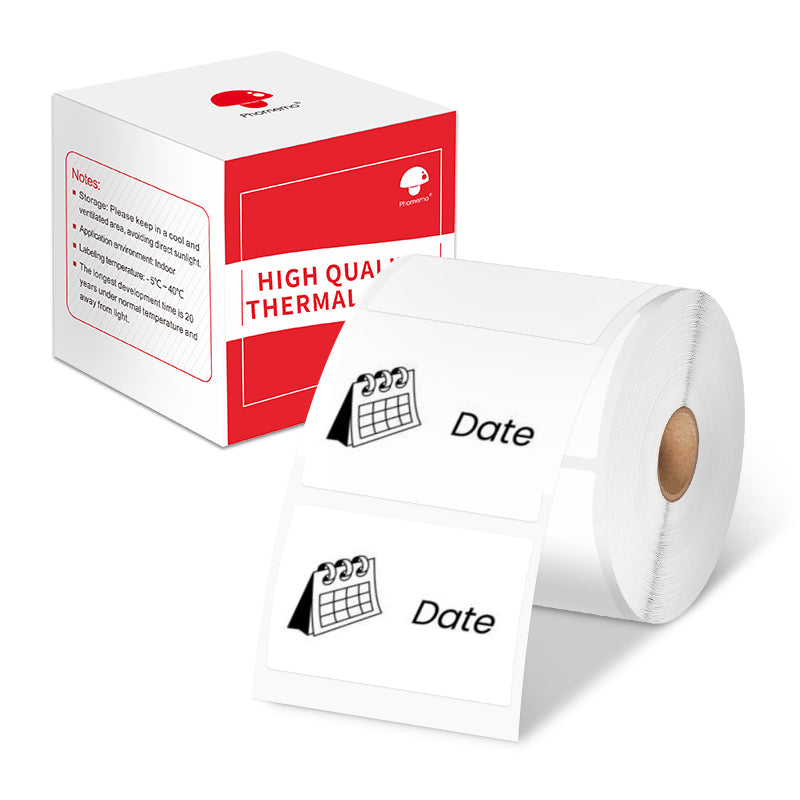
 Phomemo 4"x6" Fan-Fold Thermal Direct Labels for Shipping Label Printer
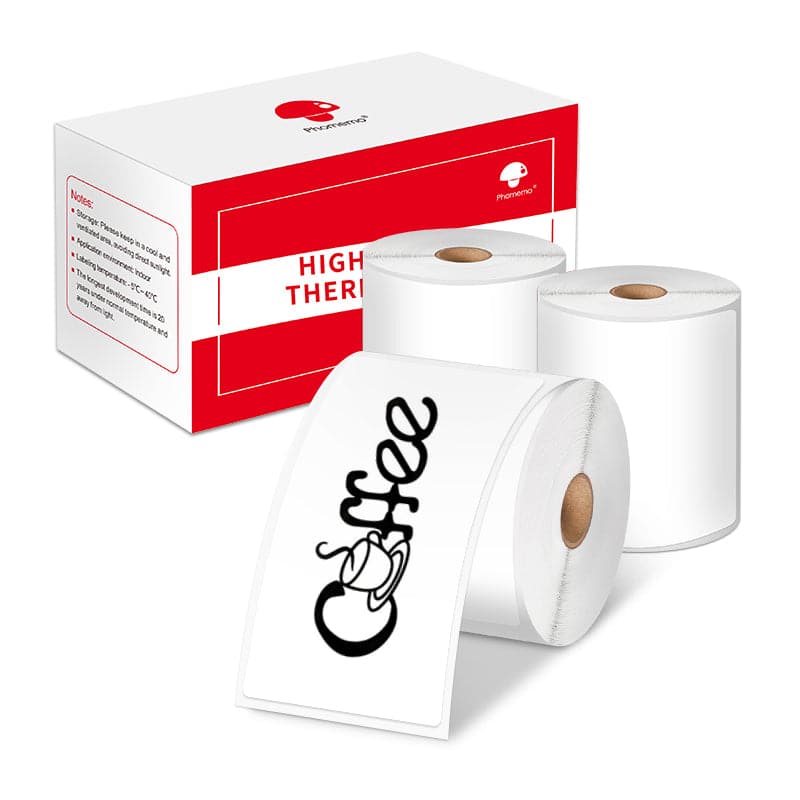
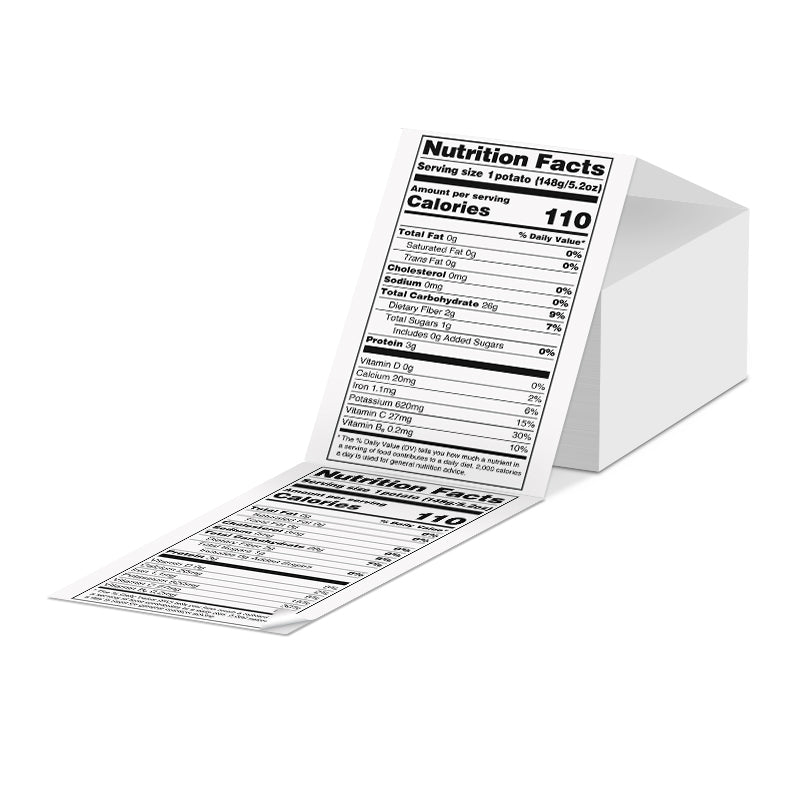
 Phomemo Thermal Shipping Labels – Multiple Sizes & Types for Shipping Label Printer
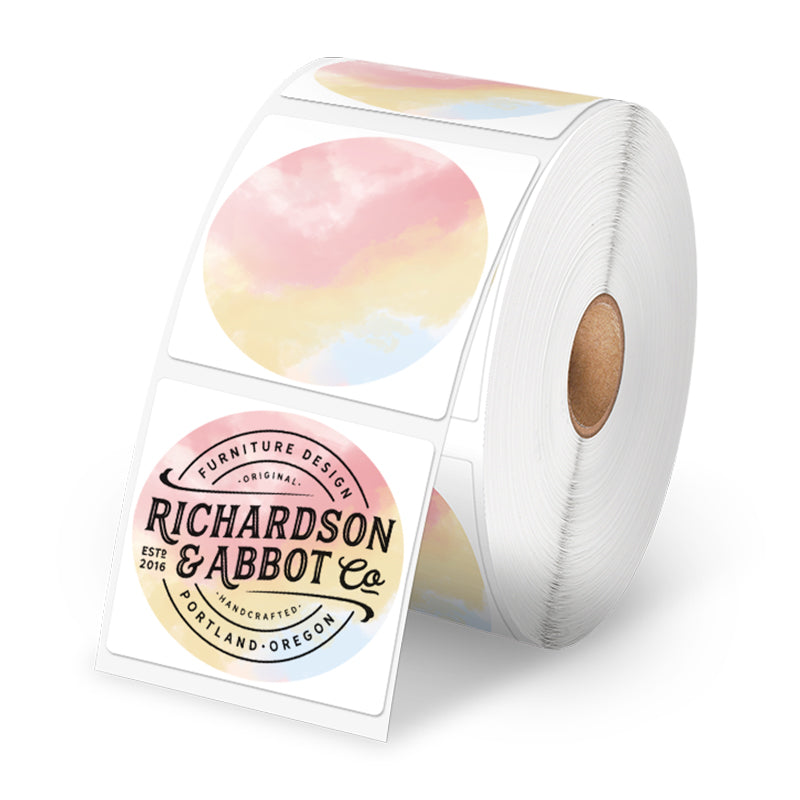
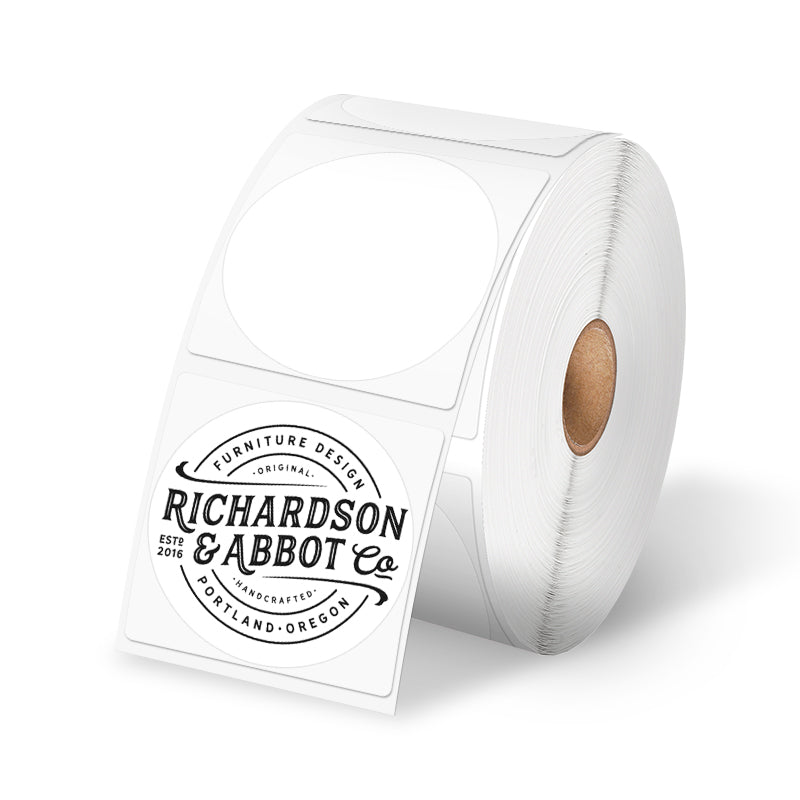 Phomemo 2" Multiple Thermal Round Label for Shipping Label Printer
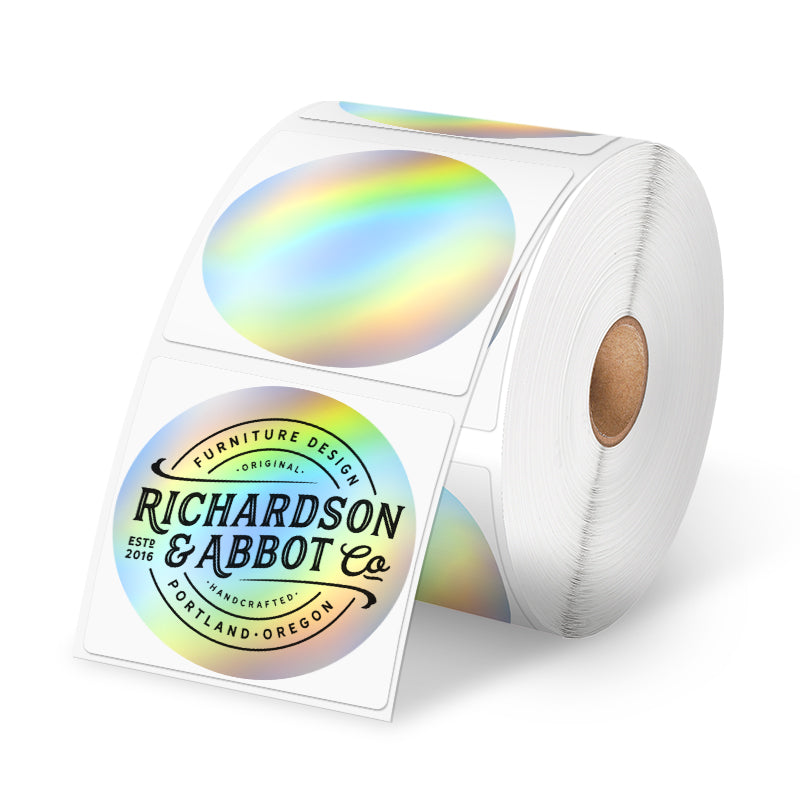 Phomemo 2" Silver Thermal Holographic Sticker for Shipping Label Printer
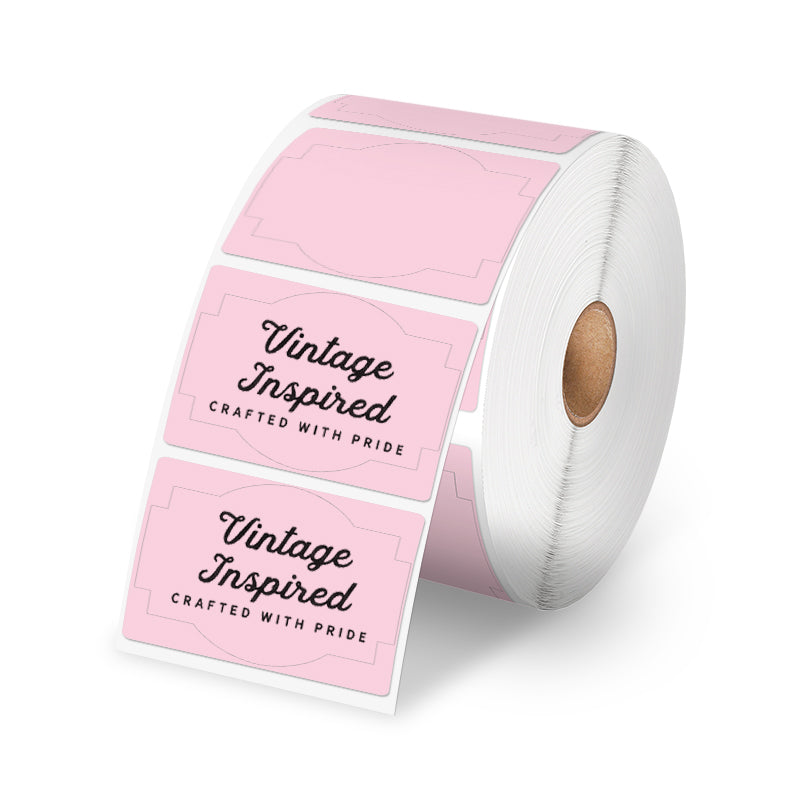 Phomemo 3"x2"Shipping Label Stickers for Shipping Label Printer
 For M08F/Q302
 For M832
 For P831
 For TP81/TP83/M08F Tattoo


 For Kids Round Sea Animal Stickers
 Thank You Stickers for Small Business&Packaging
 Phomemo 3D Pop Up Greeting Card
 FOR KIDS-Phomemo 3D Pop Up Greeting Card
 FOR KIDS-Phomemo 3D Pop Up Greeting Card
 FOR KIDS-Phomemo 3D Pop Up Greeting Card
 FOR DAD-Phomemo 3D Pop Up Greeting Card
 FOR BIRTHDAY-Phomemo 3D Pop Up Greeting Card
 Phomemo D30 Gray Bluetooth Label Maker & 5 rolls of labels (Option: Storage Bag)
 Phomemo M02 PRO Mini Printer Gift Set
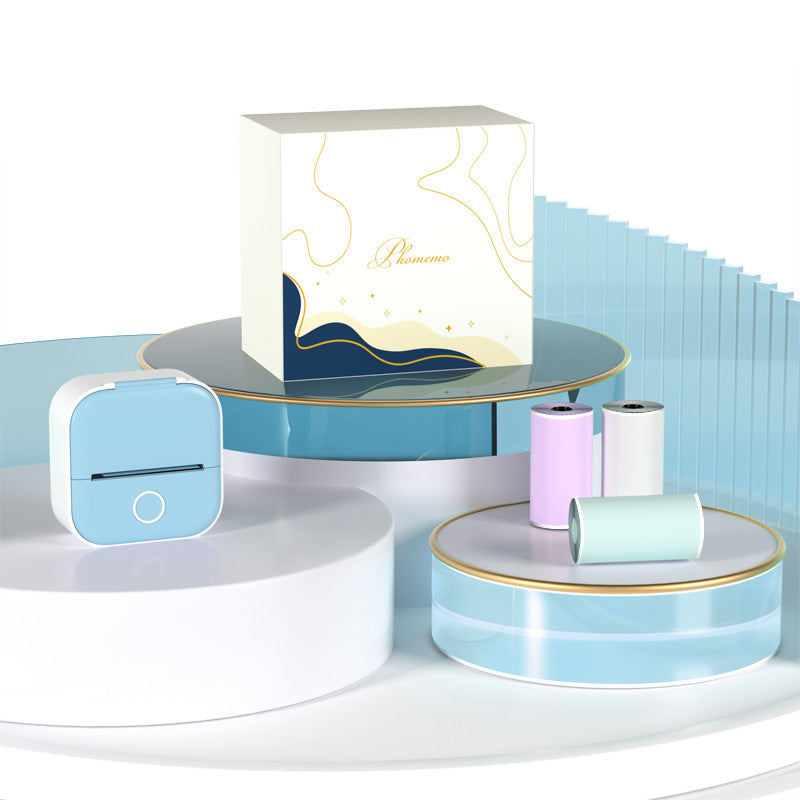 Phomemo T02 Inkless Mini Printer Gift Set
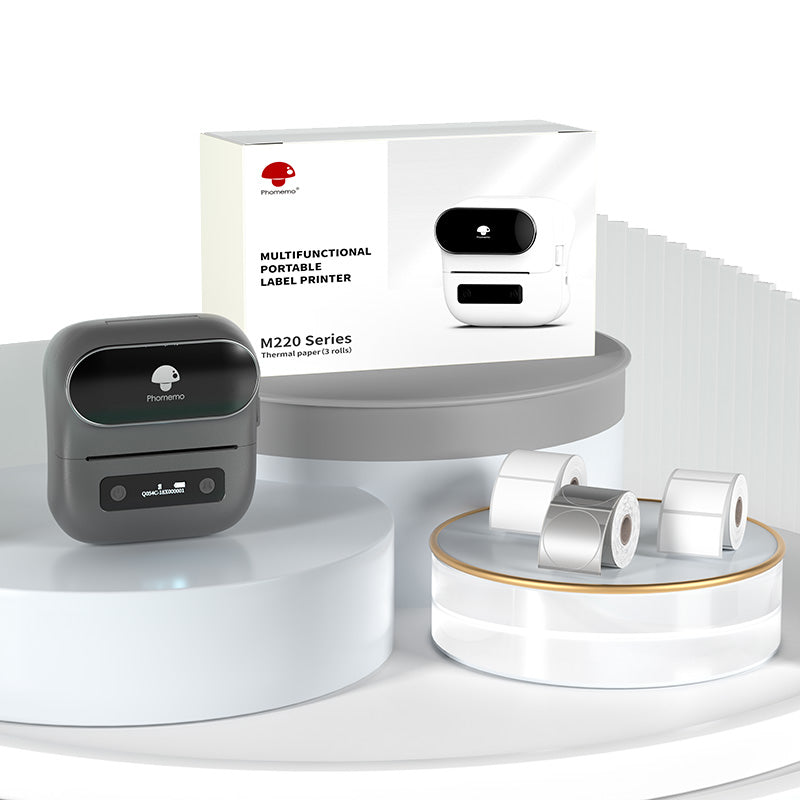 Phomemo M220 Bluetooth Label Printer Gift Set
 Phomemo M02 Mini Printer Gift Set
 Phomemo M02S Mini Printer Gift Set
 Phomemo M110 Bluetooth Label Printer Gift Set
 Phomemo M200 Bluetooth Label Printer Gift Set
 Phomemo D30 PinkBluetooth Home Label Maker & 3 Rolls of Labels Gift Set
 Phomemo D30 Bluetooth Label Maker & 5 rolls of labels (Option: Storage Bag)
 Phomemo Portable Storage Bag For M08F/P831 Printer
 Phomemo M832 Portable Printer Black Storage Bag
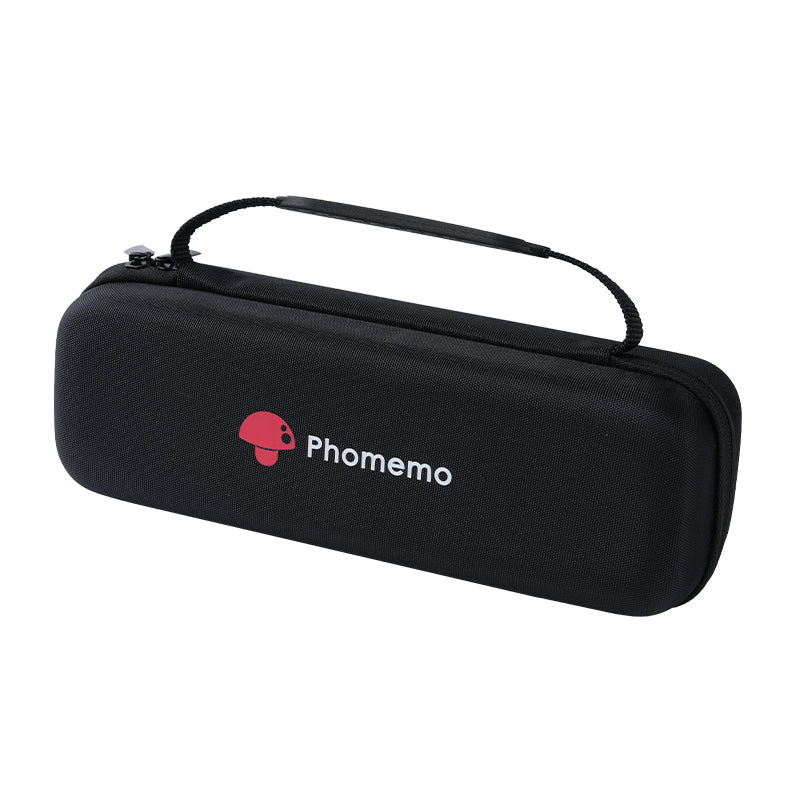
 Phomemo Small Hard Shell Machine Storage Bag
 Portable Multicolor Cosmetic Stationery Storage PU Pocket Bag for Organization
 Portable Black Velvet Stationery Cosmetic Multifunction Storage Bag for Organization
 Phomemo Large Hard Shell Machine Storage Bag
 Phomemo New Color Emerald Marble Shockproof Hard Shell Carrying Case
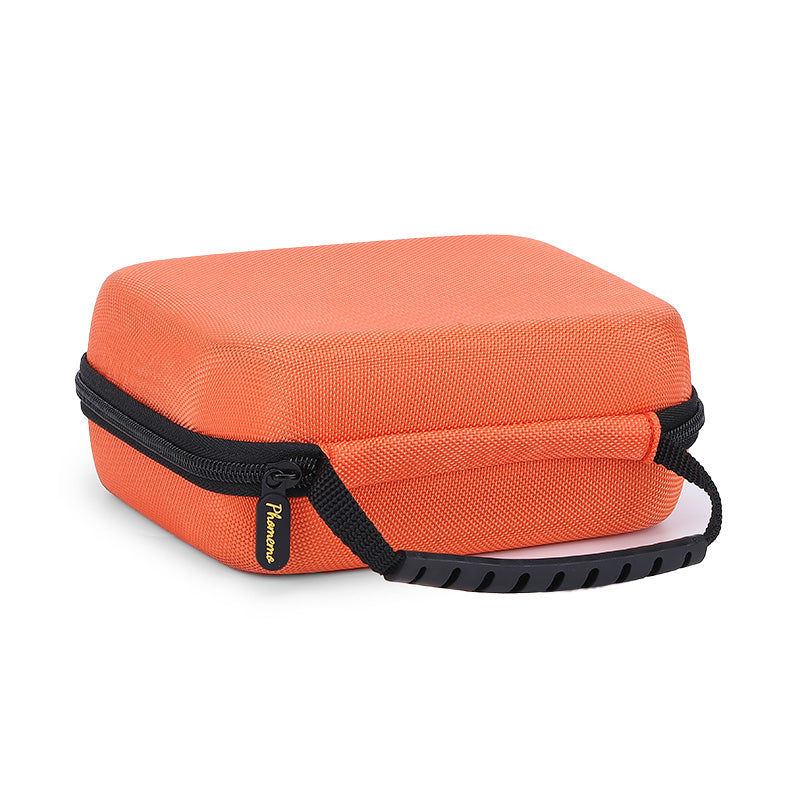
 Phomemo Computer Bag | Orange
 Phomemo Multi-Purpose Supplies Carrying Box
 Phomemo Multi-Drawer Desk Transparent Storage Cabinet BoxحWhite
 Stackable Mini Storage Box | White & Transparent
 Phomemo Cosmetic Glass Box for Organization
 Phomemo Touch-Tone Storage Box
 Phomemo Multi-Function Storage Box
 Phomemo Multi-Function Desktop Organization Box
 Phomemo Three-Layer Rotating Storage Box
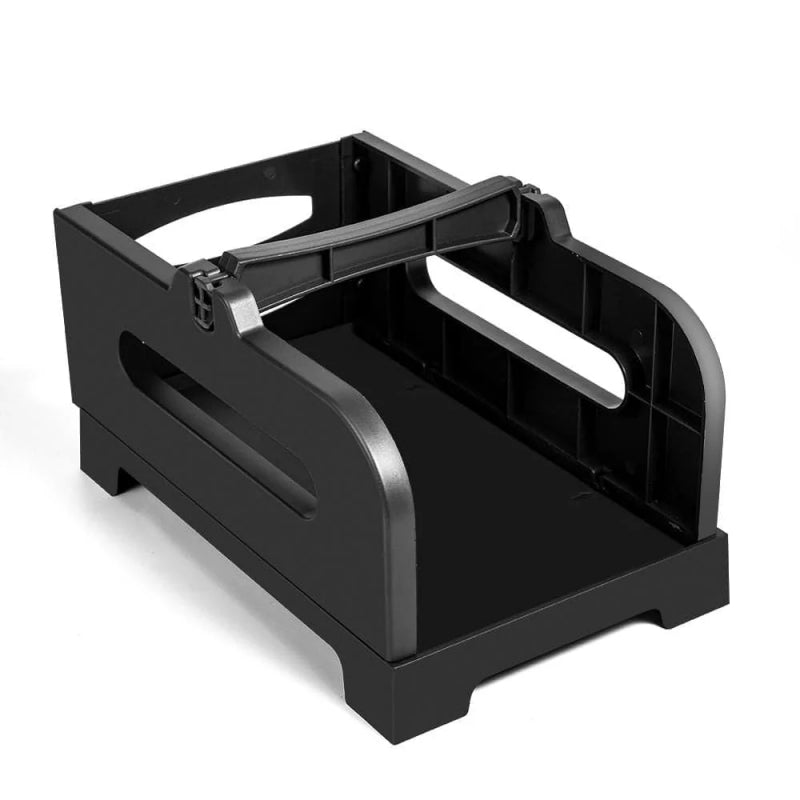 Phomemo Label Holder for Rolls and Fan-Fold Labels
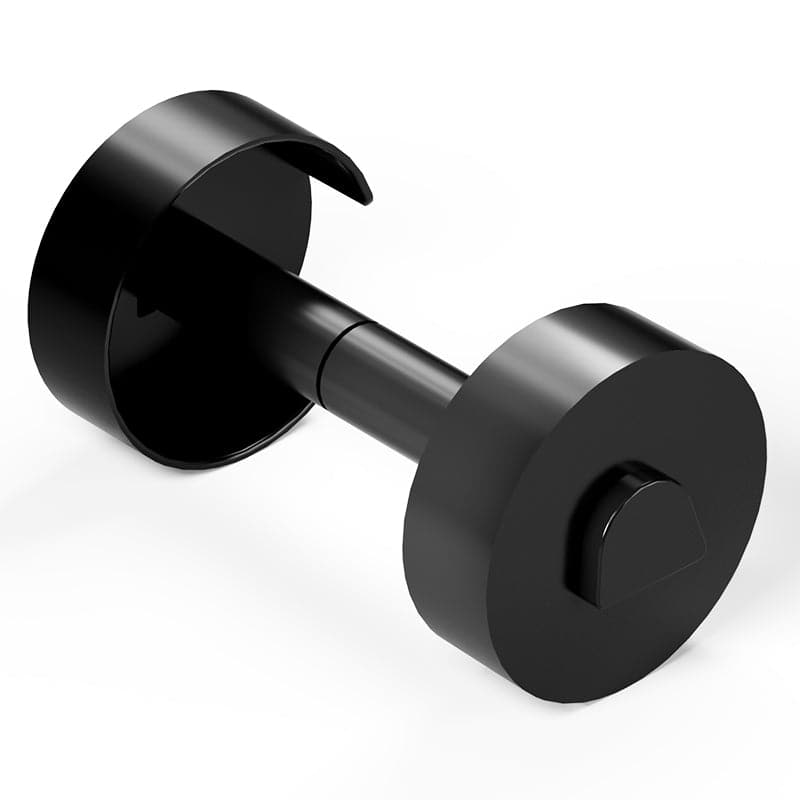 Phomemo Paper Holder for T02/M02/M02S/M02PRO/M03AS/M04AS/M04S
 PHOMEMO Power Cable, Adapter Accessories
 Paper Holder For Phomemo Business Label Maker
 Phomemo M08F Printer Holder for Rolls Thermal Paper
 Phomemo T02 Thermal Mini Printer Cat Ears Protective Cover | Purple
 Phomemo T02 Thermal Mini Printer Rabbit & Cat Ears Protective Cover
 Phomemo 12 Colored Journaling Pens

- Preparation of Tools:
- 5 Steps to Make Custom Nail Decals with A Label Maker
- Essential Tips to Read Before You Start
- Ready to shop? Get discount Code!
- FAQs

M110 Portable Label Maker
⭐ 123 Reviews
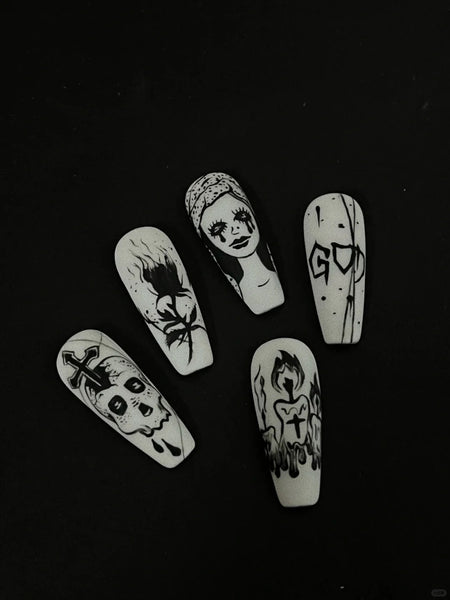
Are you interested in creating custom nail decals at home? Have you ever wanted to design your own unique nail art but didn’t know where to start? Imagine having the ability to personalize your nails with any pattern or image you like, right from the comfort of your own home. Wouldn’t it be amazing to showcase your creativity on your nails without the need for a professional salon? If you’re eager to explore the fun and satisfying process of making your own custom nail decals, then this guide is perfect for you.
When it comes to label makers and nail art, you might only think of their use for organizing and storing nail polishes and tools. However, did you know that a label maker can also be used to create custom nail decals? With a label maker, you can design and print personalized patterns and stickers that can be applied directly to your nails, allowing you to achieve unique and professional-looking nail art at home. This versatile tool opens up new possibilities for creative nail designs beyond just organization.

In this guide, we’re going to show you how to make your own DIY nail art stickers using a label maker. With just a few simple steps, you can create custom designs that reflect your personal style and creativity. Whether you're a nail art enthusiast or a beginner, this method is fun, easy, and incredibly rewarding. Let's get started on making your unique nail decals right at home! Ready to dive in and discover how easy and enjoyable it can be?
Preparation of Tools:
To begin, you'll need to prepare everything you'll use for making your custom nail decals. Start by organizing your workspace and gathering your materials. This will ensure that you have everything you need within reach and can work efficiently. Once you're ready, you'll be able to follow the steps to create your personalized nail art.
- A thermal label maker
- Plastic wrap
- Scissors
- Gel nail polish(base coat, top coat and any color nail polish you like)
- Nail lamp(mini pen-shaped portable one would be better)
- Nail art brushes(liner brushes are good)
- Tweezers

5 Steps to Make Custom Nail Decals with A Label Maker
Step1: Print Patterns
First, download the necessary app for your label maker(if you have a

Step2: Cut Patterns
After the pattern is printed, carefully review the result to ensure it matches your expectations. Check the clarity and detail of the design to confirm it looks as intended. Once you’re satisfied with the print quality, use scissors to carefully cut out the desired patterns.
Step3: Color and Cure Gel
The next step requires a bit of patience and skill. First, place the cut-out pattern in a fixed position. If possible, find a smooth base to work on. Secure the pattern onto the base. Then, cut a piece of plastic wrap, making sure it’s larger than the pattern. This ensures stability and prevents the plastic wrap from moving around while you trace the design. If you have a suitable base tool, cut the plastic wrap slightly larger than the base. Cover the pattern with the plastic wrap.
Next, apply a layer of base gel within the pattern’s outline and cure it under the lamp. This step ensures that when you later pick up the finished design with tweezers, the pattern remains intact. Then, use a nail art brush to fill in the design with your chosen colors of gel polish. After each layer of color, remember to cure it under the lamp. This step allows the color to dry quickly, preventing mixing colors together and making the design more durable.

Once all the coloring is complete, I recommend retracing the pattern lines with black gel polish to make the design more vivid and attractive. After finishing all the coloring and outlining, cure it under the lamp again to ensure the surface is completely dry.
Step4: Pick with Tweezers
This step is quite simple. Use tweezers to gently lift the base gel layer from the plastic wrap. When picking up the pattern, be careful not to pinch the center of the design to avoid damaging the pattern.
Step5: Apply to Nails
Apply the pattern to your own nails or to a pre-made nail tip. Once the pattern is positioned as desired, don't forget to seal it with a top coat. Then, cure it under the lamp to complete your nail design.

Essential Tips to Read Before You Start
- If the label paper is made of transparent glossy material, you can skip the plastic wrap step and apply the base coat directly onto the label paper.
- Make sure to use a flexible base gel with good elasticity; a gel that's too hard will not conform well to the nail surface.
- Always confirm the size of your nail before setting the size of the stickers by comparing them.
- For nail tips, choose soft and flexible ones. You can reinforce them, then file and seal them for added comfort.
- When removing the stickers, use tweezers to gently lift from the edges towards the center. A thin gel applicator stick can also help in removing the stickers completely.
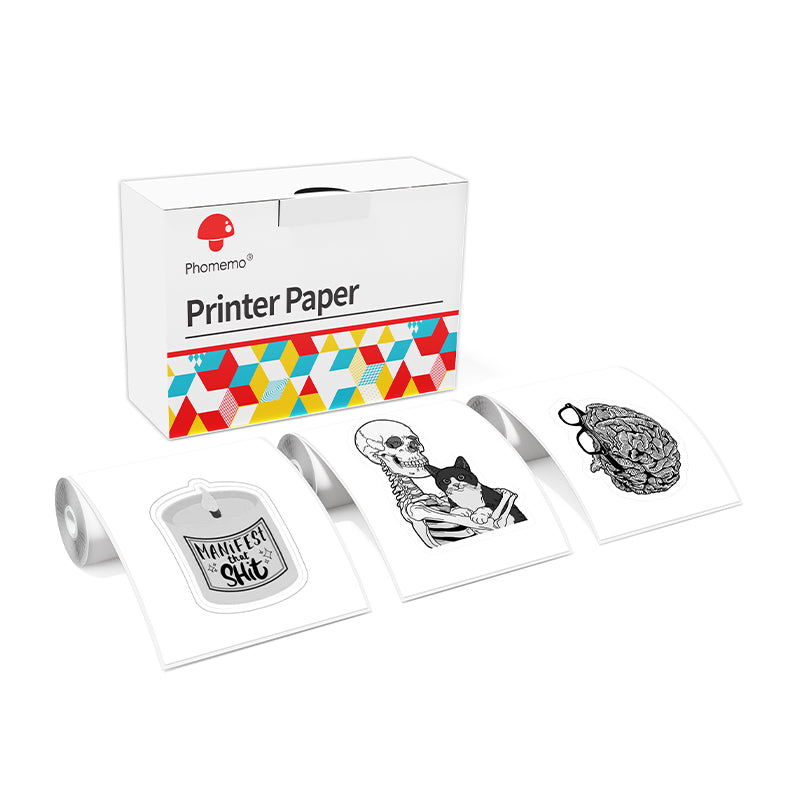
- If you only want black-and-white line nail designs, you can also use our transparent label paper for printing. After printing, carefully cut out the designs according to the outlines and then apply them directly to the nail surface.
Ready to Shop? Get Discount Code!
Thank you for following our guide on creating custom nail decals with a label maker. We hope you’ve enjoyed discovering how easy and fun it can be to design your own unique nail art at home. To help you get started, we're excited to offer you an exclusive promo code. Use "LATEST8" at checkout to receive a special discount on our thermal label maker. Don’t miss out on this opportunity to elevate your nail art game and explore endless creative possibilities. Purchase now and start designing your custom nail decals today!

Have you purchased our label maker? If so, we invite you to join our "Write for Us" project and submit a guest post to share your unique tips and experiences with our community. We’d love to hear from you!
FAQs
What are the differences between printing and drawing the nail decals?
Precision: Printing offers high precision and intricate details; drawing allows for more personal touch but less precision.
Time: Printing is faster and consistent; drawing is time-consuming and labor-intensive.
Customization: Printing allows easy digital customization; drawing offers immediate on-the-fly changes.
Tools: Printing requires a label maker and software; drawing needs art supplies like brushes and nail polish.
Durability: Printed decals are often more durable; drawn designs may wear out faster.
Cost: Printing has a higher initial cost but can be economical over time; drawing is cheaper initially but may require frequent touch-ups.
How to choose the patterns of nail decals?
1. Complexion
Choose patterns that complement your skin tone. Lighter skin tones look great with bold, dark patterns, while darker skin tones shine with bright, vibrant colors. Neutral shades work well for all complexions.
2. Occasion
Match your nail decals to the occasion. For formal events, opt for classic and elegant designs like French tips or delicate florals. Casual outings allow for playful and creative patterns, such as quirky graphics or seasonal themes.
3. Makeup
Coordinate your nail decals with your makeup style. Bold makeup pairs well with subtle nail patterns, while natural makeup allows for more intricate designs. Matching your nail decals with your lipstick or eyeshadow can create a cohesive look.
4. Trend
Stay updated with current trends by checking fashion magazines, social media, and nail art blogs. Popular patterns might include geometric shapes, animal prints, or holographic designs. Trendy patterns keep your look fresh and modern.
Can I reuse the decals if I make a mistake?
Decals are generally designed for one-time use. If you make a mistake, it's best to change a new plastic wrap. Or if you color the pattern right on the transparent label, you’d better print a new one.
What if the printed decal tears or doesn't transfer properly?
Ensure the label paper is of good quality and the base gel is applied evenly. If it tears, gently lift it with tweezers and try again.
Can I use any label maker to print nail decals?
While many label makers can work, it's best to use one that supports high-resolution printing for clearer designs.
What type of label paper should I use for nail decals?
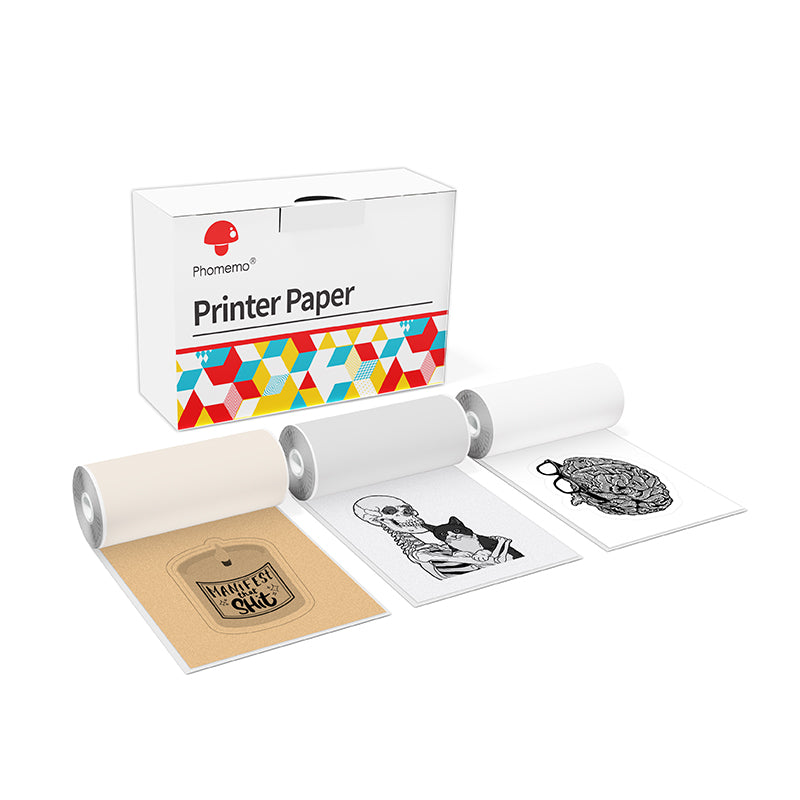
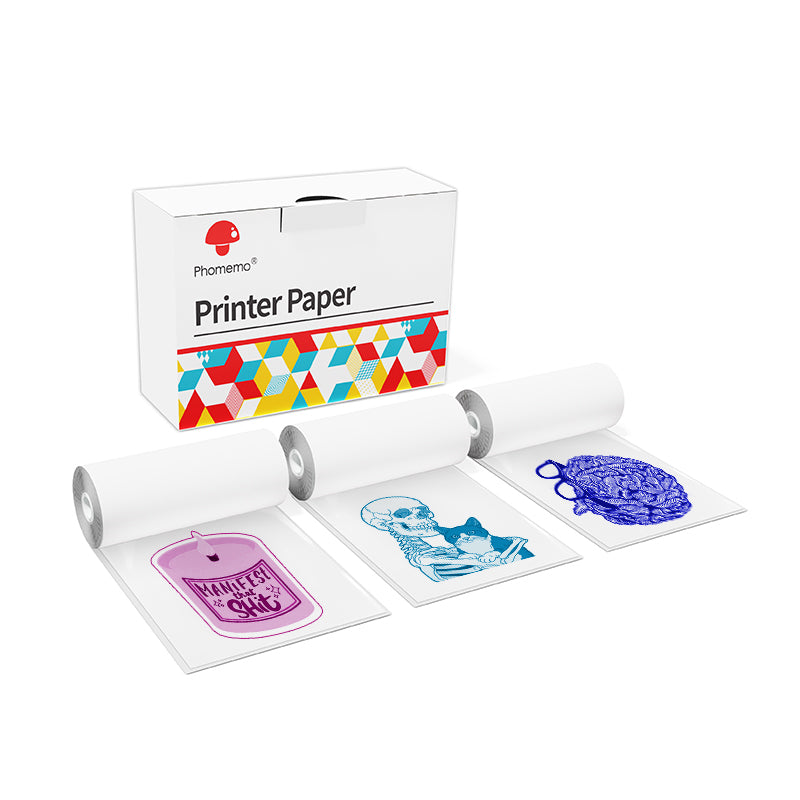
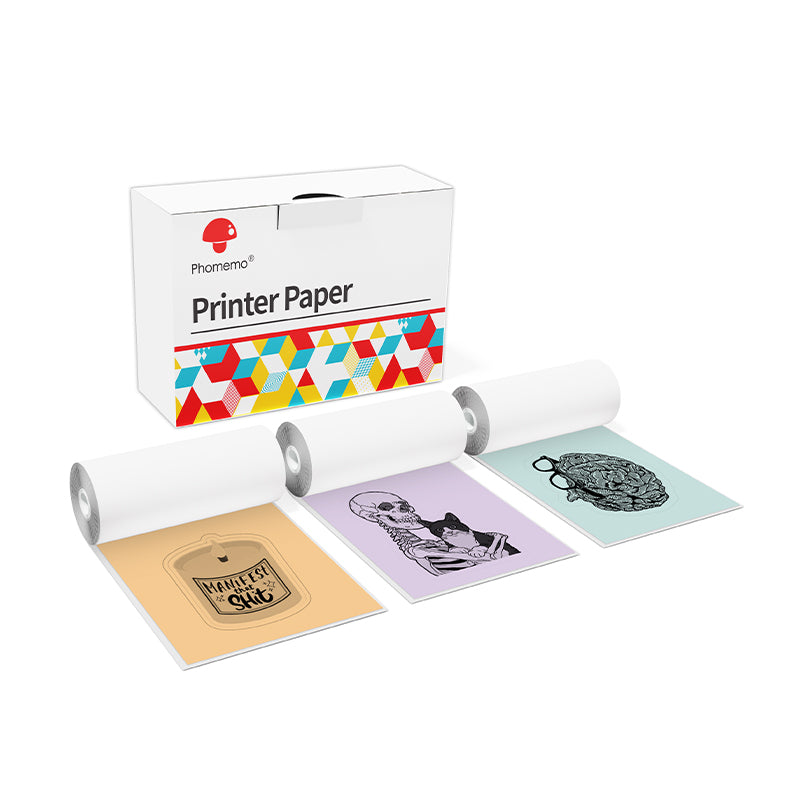
For transferring the patterns to the plastic wrap, you can choose any color labels to print the patterns.
However, if you don’t want to use the plastic wrap, choose the transparent, glossy label paper, which is ideal as it provides a smooth surface for applying nail gel and colors.
Do I need ink or toner for printing nail decals with M110 label maker?
No, M110 label maker is a thermal label maker, which do not need ink or toner. Thermal label makers use heat to create images on specially coated thermal paper. The heat-sensitive paper changes color when heated, eliminating the need for ink or toner.
Here are some advantages of thermal label makers that don't use ink:
- Say goodbye to the pollution from waste ink cartridges and ink, and protect the environment.
- No longer need to buy and wait for expensive ink cartridges, saving both cost and time.
- Enjoy a better experience without the compatibility issues of ink cartridges. No more frequent replacement of empty cartridges or getting your hands dirty.


